 THE BROW TREND
The latest trend nowadays seems to be these beautiful, big, bold brows. Everywhere you look, women are accenting their dazzling smokey eye or bright lip color with even bolder and bigger brows. I am going to teach you how to do eyebrows like a PRO.
Many women do not realize the importance of filling in those beautiful eyebrows!
Think of your eyebrows as a picture frame. No, a picture frame around a photograph is not the central focal point when you glance at it. However, accenting a beautiful photo with a frame that compliments it only adds to the beauty of the piece.
Your eyebrows are the same way! I believe they are the finishing touch to any makeup that takes your look to the next level. Well-defined brows make your entire face look put together and polished.
Bottom line: don’t skip your brows!
Please.
Want to know how to achieve those stunning, carved out beauties that you see on almost every actress, model, and Instagram celeb? I am going to teach you how to do eyebrows flawlessly. I have broken this post down into categories for easy-to-follow steps.
SHAPING
The key to knowing how to do eyebrows is beginning with a good shape.
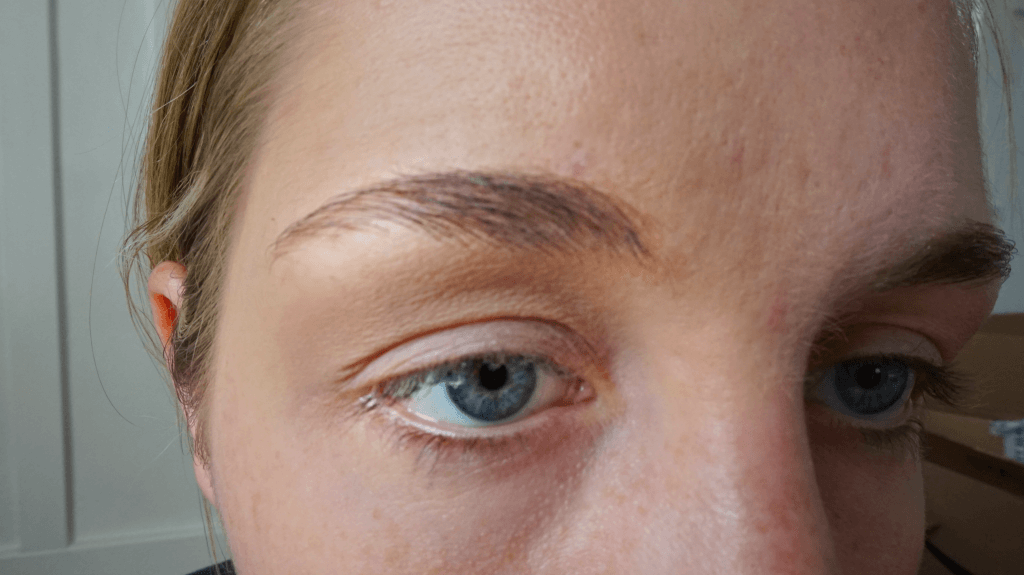
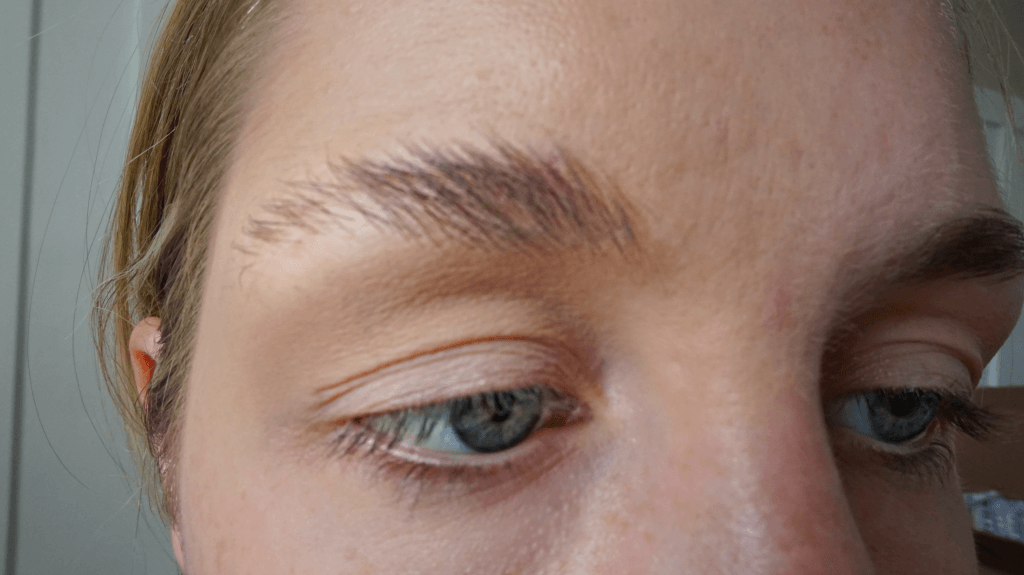
Amongst this trend of enormous, bold, carved out brows, I find myself appealing to a more natural look. I follow my natural shape of my brows, and you should too!
Don’t try to carve your eyebrows into a shape that is not there.
Case in point: my brows do not have a natural, dramatic arch. Trust me, I wish they did; I drool over dramatic arches in brows. However, I do not try to put a high arch where there is none.
When shaping your brows, follow their natural shape, and simply fill it in (as I teach you how to later in the post) to make it darker and more defined. Doing this will result in the best, most natural look!
When it comes to shaping, I have gotten my eyebrows waxed one time in my entire life. The lady did an awesome job, and I thought they looked great! I just simply do not have time to get my eyebrows waxed on a consistent basis.
I have never gotten my brows threaded, so I cannot speak on that. If you have, let me know what it was like! I am too much of a wimp to get myself to do that!
The only thing I do to actually shape my brows is tweeze. I do this with an old tweezer I think I bought at Walmart probably at least five years ago. But hey, that puppy is still going strong and doing great!
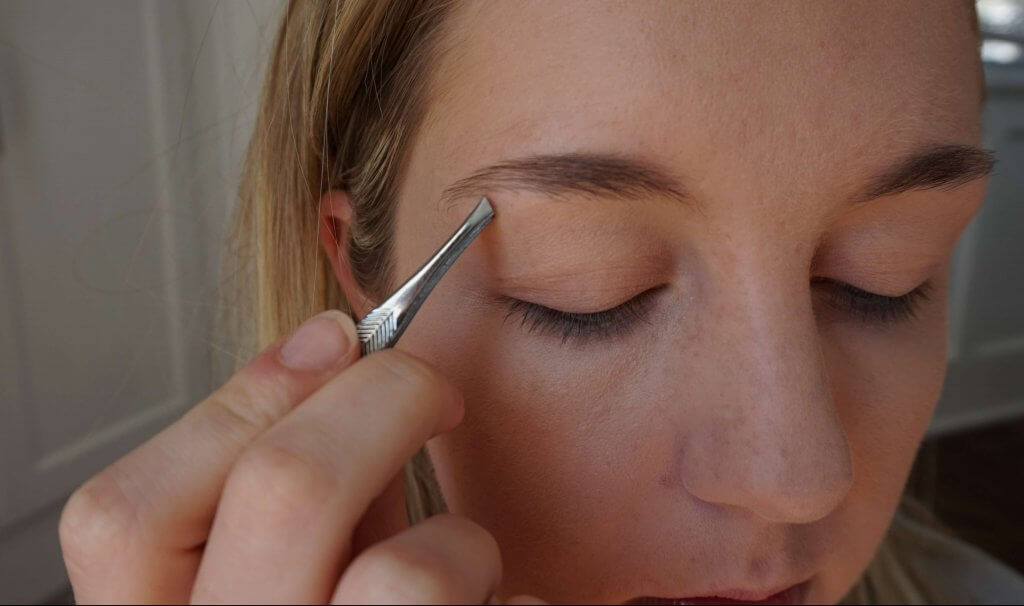
 To ensure the best shape, make sure you do not fall to one of the most tragic brow mistakes: over-plucking!
Find stray hairs that fall out of place from your brows natural shape, and tweeze those bad boys out. But, keep that natural, full brow shape there!
I focus on the outer half of my brows, and beneath my brows. I find that is where I see the most stray hairs that I wish weren’t there. I don’t have as many I want to take away from my inner corner or above, so I leave most of those spots intact.
Get rid of the strays, but don’t tweeze your brows into oblivion.
ANASTASIA BROW DEFINER
Now let’s get into the nitty gritty of it all: how to make your brows say “ba-bam!”
After you have tweezed (or waxed, or threaded) your brows into their perfect shape, it is time to start filling in.
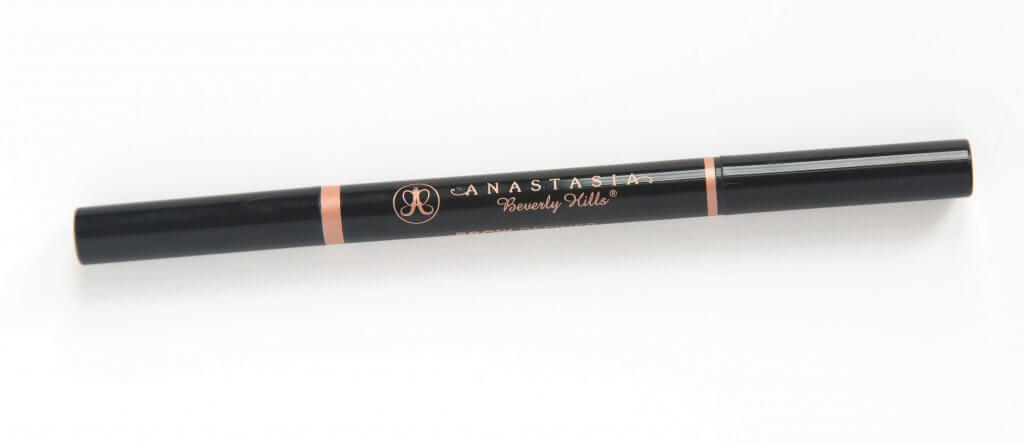
Now please get familiar with my holy grail of all eyebrow products: The Anastasia Brow Definer.
Anastasia really is the queen of brows. This guy, in particular, is so perfect for filling in your brows for many reasons.
- One end of the tool is a spoolie, meaning you don’t have to worry about buying an extra tool to complete your look. I use the spoolie to comb through my brows just as much as I use the pencil on the other end.
- The pencil is shaped at an angle, making drawing clean, accurate lines super easy. Do not confuse this with Anastasia’s original “Brow Wiz,” which is also an awesome product, but the pencil is not angled in the way the “Brow Definer” is. The angle of the pencil is what I think makes the product so much more spectacular and easier to use.
 COLOR
COLOR
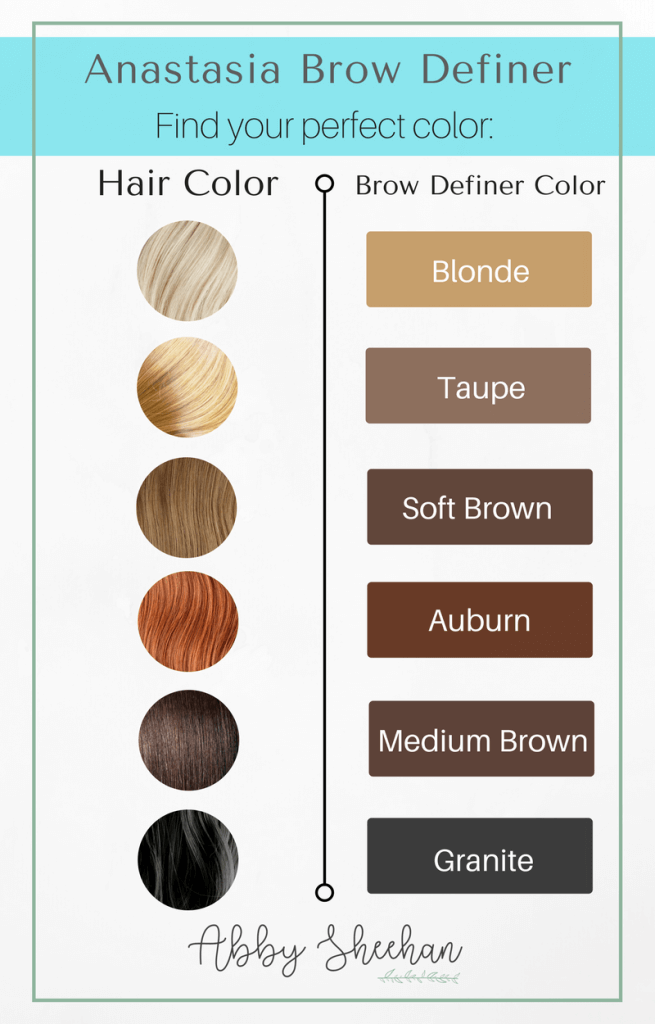
I use the color “taupe,” but you must find a color that works for you. Even though my hair on my head is blonde, I am naturally a brunette, so my eyebrows are much darker. To combat this, I chose a shade that was one shade lighter than my actual eyebrows, so as not to make them too dark and contrast too much with my blonde hair.
I would always suggest choosing a shade lighter than what you may think for the color on your brows. This way, you avoid making them look fake, drawn on, and too harsh.
I strive for the more natural look, and I don’t want it to be obvious that I am not a natural blonde, so I go with “taupe” as my perfect shade.
Follow the style guide I made below to pick your best shade of the brow definer! If you are using a different eyebrow product, you can still use this guide to help you find your perfect color for your hair with any brow product.
 FILLING IN
Now we’re really getting into the nitty gritty of how to do eyebrows.
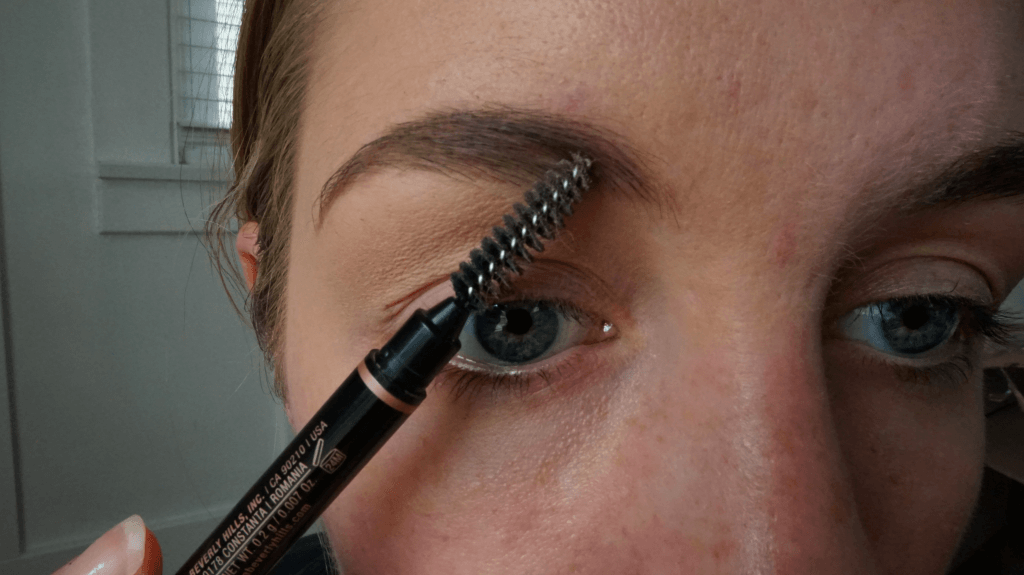
Begin by brushing your eyebrow hairs in an upward motion (with the spoolie), to see where the bottom line of your eyebrows is.
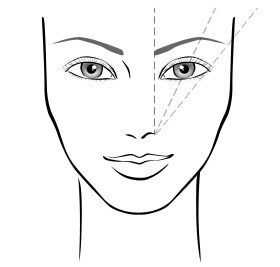
 I always define the lower line of my brows and leave the top line a little more natural. I draw one line up to where my arch (if I even had one) would be. Next, I draw one line down, to the tail of my brow. You want the end of your eyebrow tail to be a slanted line out from the outer corner of your eye.
THIS is one of the biggest mistakes I see women make in their eyebrows…do not stop them short! I make sure the end tail of my eyebrow is long enough by filling out that outer edge until it looks like a precise, perfect point.
Jennifer, over at All Parenting created a super helpful eyebrow chart which demonstrates what I’m talking about!
 So, as you can see in the picture below, I basically start by drawing on a “bottom line“, because I like the bottom to be more defined!
 Next, I go back into the inner corner of my eye. You want the inner part of your eyebrow to begin directly above your tear duct (see the chart above for more guidance).
Another popular trend these days is to have eyebrows that go very far together, almost nearly touching sometimes! If this is the look you are going for, then go for it girlfriend. Otherwise, I try to shape them as the diagram showed.
I fill in the inner corner lightly, making it slightly darker. The farther in and darker the inner edge of your eyebrows are, the more it can give you a “meaner” expression. I prefer mine to be soft and feminine.
Finally, I fill in the middle section of the rest of my brow so my entire brow blends into the line I made at the bottom earlier.
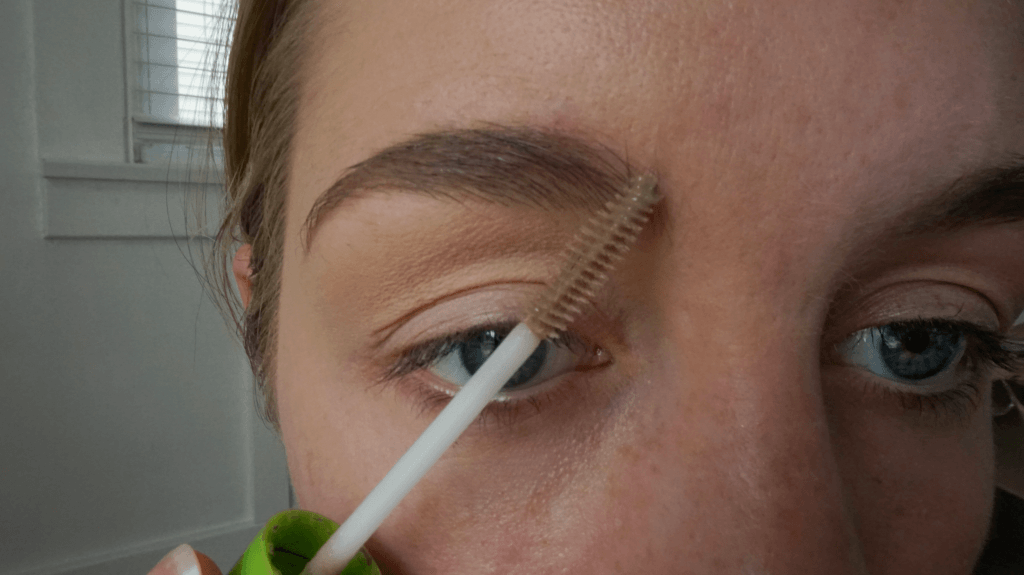
 Now, you are ready to go back to the other end of that brow definer and use the spoolie to brush the hairs back into place. This is where you can see if there are any other areas you need to fill in.
This also acts as a blending brush would for your eyeshadow. The spoolie rakes through the lines you just made with your pencil and blends them out to be more natural and blend in with your eyebrows natural hairs.
I use short, swift motions with the spoolie to blend it all together. This helps your whole eyebrow look seamless and natural. Not like you drew it on with a sharpie.
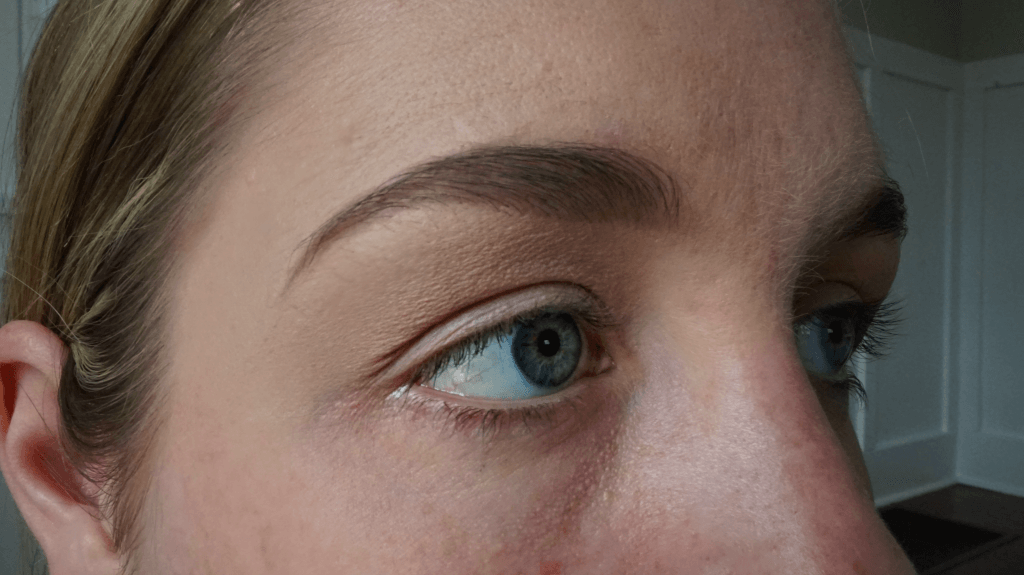
 Once I can see that my brows are nicely filled in, and the hairs are brushed back into their perfect shape, I consider my brows filled in! Woo hoo!
SETTING
Now, many girls would just stop there after doing all that work. I mean, they’re filled in and shaped, so you’re done, right? Wrong!
Unless you want your eyebrows flying around all over the place throughout the day and ruining all that hard work you did, you need to set them in place.
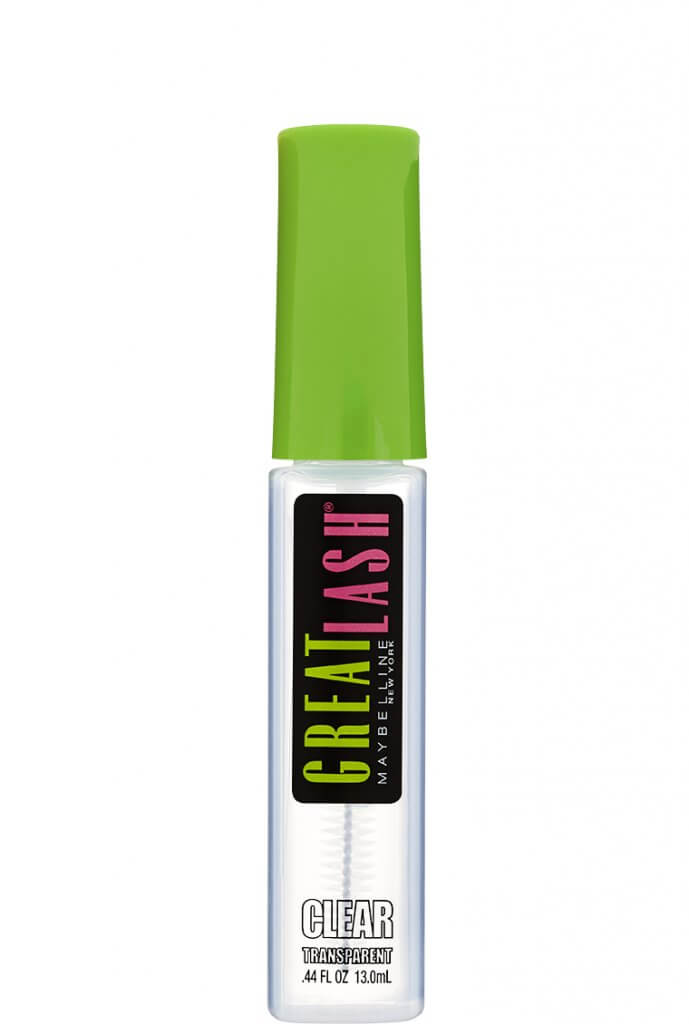
My favorite product for this is the Maybelline Great Lash Mascara in “clear”.
No, I have never actually used this as real mascara for my eyelashes a day in my life.
I use it as a brow setting gel! Why spend an arm and a leg on expensive brow gel when you can pick this up at your local drug store (or through this link) for super cheap, and it does the job just as well?
As you use it, the clear gel can turn into a little bit of a gross-looking, brown color, but this is just from the wand being brushed through your colored brows…so never fear.
Setting your brows is the easiest part of the whole process. Simply brush the wand through your eyebrows, following the natural shape you created and set them in place! I focus on the tail end of my eyebrows, as I find this part to be where my brow can fly around the most, and I want it to stay in place.
EXTRA STEP: CARVING OUT
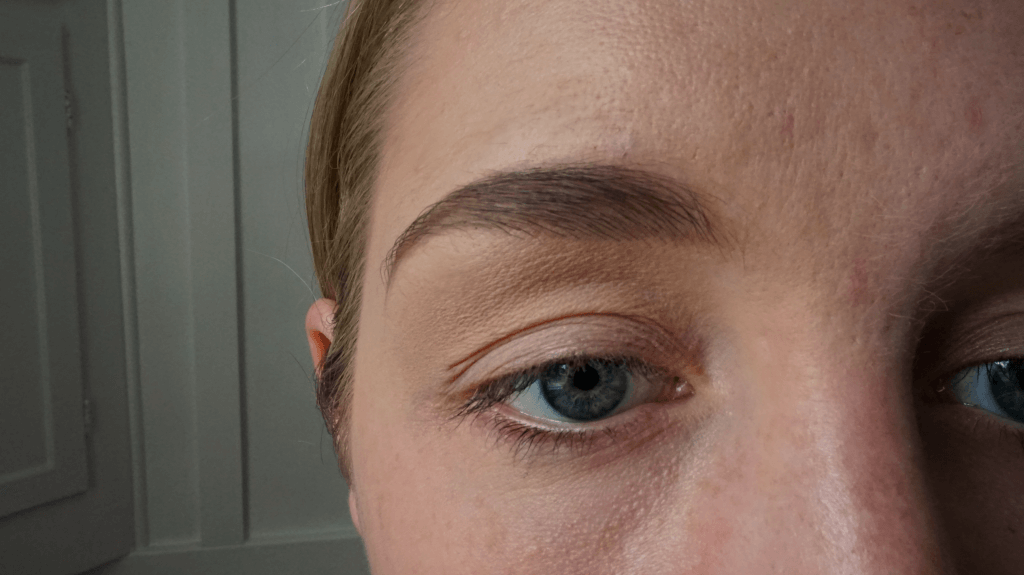
Most days, after setting my brows, I am done! Most days, you should be done too.
At this point, your eyebrows are beautifully plucked, shaped, colored and set into place. They are now the perfect frames to accent the rest of your makeup look!
However, I decided to add one extra step into this post for those who want to go the extra mile. I only do this on days when I really want my brows to make a statement, and I have the extra five minutes to spend on my eyebrows.
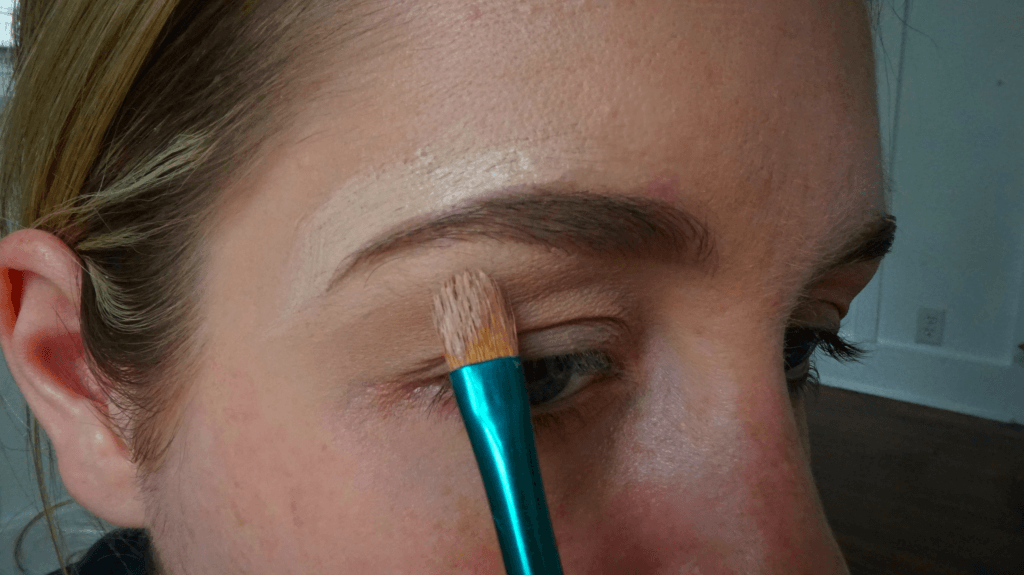
What I am talking about is carving out your brows with concealer. You will literally carve a light layer of lightly colored concealer around your eyebrows, to ensure their shape is perfect. Carving your brows is also useful for correcting any mistakes you may have made through the process of filling them in.
The way I do this is by first, taking some of my concealer on the back of my hand.
I recommend using the same concealer (and the same shade) you used on your undereye, to make sure it does not stand out as a different color.
I then dip in a cheap, flat shader brush into the concealer (just use a cheap eyeshadow brush with a pointed end that you have that you don’t mind getting covered in liquid makeup). Then, carve out the shape of your brows with the brush, focusing on the tail end of your eyebrow. The concealer will make your eyebrow look sharper and more defined. Then, brush any excess concealer off your brush, and blend out the concealer around your brows so it is not noticeable.
 YOU’RE A MASTER!
Yay! You officially have the perfect, most banging, amazing, “look at me now” eyebrows of your dreams.
 I know this was a long post, and it may seem overwhelming to beginners, but do not be dismayed! All in all, my daily brow routine takes me less than five minutes.
Seriously!
As you get into the groove of how to work your brows, you will learn what works best and what doesn’t. You will get better and quicker and will be doing your eyebrows in your sleep in no time. (Which I usually most literally do, when shaping my brows at 5:00 am, getting ready for work.)
What tips, tricks and products have you learned that work best for your brows? Do you have any holy grails, other than the ones I mentioned? I would love to know what works for everyone! I am always searching for new products with which to fall in love.