 Hello there friends! Man, have I got a good post for you today.
Here I am writing for you all the details of my foundation routine for oily skin.
I am going to go through every step: primer, foundation, concealer, powder, and the brushes I use for each. This post is going to be jam packed with tips and tricks along the way to help you achieve a flawless face!
I will also include my fave products from each step. This is going to give you everything you need to know to do your face makeup!
Let’s just get goin’, yo.
My first little tip I want to offer up is reminding you to always wash your hands! Your hands harbor so much bacteria that you can easily transfer to your face when you’re applying products, especially if you use your hands for some steps (which I do).
You can make your face oily, spread germs, and cause major breakouts.
Let’s have a clean start and wash those hands!
Primer
 Now the first real step is always applying primer.
I will be honest and say there are a lot of primers out there that aren’t that great. I have tried many primers that I haven’t even noticed a difference with my skin or my foundation, so they seem like a waste to me.
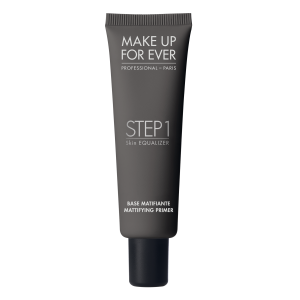
However, I love what this Makeup Forever primer does to my skin! This primer comes in many different formulas. The one I am using currently is the Radiant formula. This primer makes my skin feel so smooth, and I actually feel my foundation applying more seamlessly.
As you can tell, I love this primer so much, I am actually running pretty low. I’m excited to try the mattifying formula next!
I know this primer is pretty pricey. However, it has lasted me so long because you really do not need very much for each application. I also think it is worth the little splurge because it works wonders!
If you are looking for a cheaper option, my favorite one from the drugstore is the L’oreal Magic Lumi primer. I love the way this feels on my skin, and it really leaves your face looking glowy all day long! I just haven’t used this one as much personally, because I have such oily skin.
This would be perfect for you dry skin girls!
Foundation
 My fave foundation that I use is L’oreal True Match Lumi.
I know, I know. I just went told you about how I have oily skin and I usually stay away from “lumi” products. I honestly am surprised I ever even tried this foundation in the first place. (Ok, I know. Jaclyn Hill recommended it, so I had to try it, right?)
Even though this foundation is marketed as “luminous”, I think it looks beautiful on my skin! It doesn’t make me any extra oily but leaves my skin with a smooth, flawless finish. This product blends out perfectly and looks extremely natural. The “luminous” effect is brightening, but not too glittery or oily!
This would be even more perfect for ladies with dry skin. Highly recommend.
I apply this foundation by putting about two and a half pumps of product on the back of my hand. (Oh yeah, it has a pump, double bonus.) I then use my Morphe M439 Foundation Brush to dot the product around my face and blend it in. Check out this post for more about why this brush is AMAZEBALLS.
Tip: Make sure you blend your foundation sufficiently down your neck. Having a line on your chin/jawline area of where your foundation stops is not a cute look. If you use a light amount of product and blend it all around your jawline and down the neck, it will blend seamlessly!
If the L’oreal foundation doesn’t work for you, try out any of my other faves:
–L’Oreal True Match (this is the same as the one I talked about, just not the “luminous” version)
–Josie Maran Argan Oil Vibrancy
Concealer
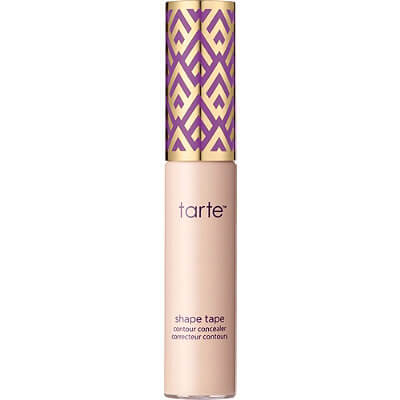 The Tarte Shape Tape concealer is a cult favorite in the makeup world – and I’m going to jump on the bandwagon and say it’s for a good reason! This is my absolute favorite concealer of all time. I actually always order more of this than I need, so I always have some on hand and never run out!
Your concealer should always be just slightly lighter than your foundation, so it acts as a “natural” highlight on the high points of your face. Don’t go too light – just enough to be brightening and wake your face up!
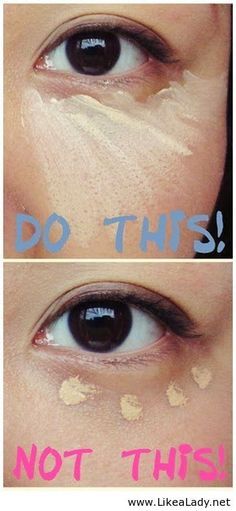
I start by applying a generous amount under my eyes (in a triangular motion). Again, this is where a lighter concealer is extremely helpful. I personally always get dark purple circles under my eyes (especially in the early mornings!) that this concealer covers perfectly.
I find the graphic below extremely helpful when applying concealer!
 Next, I apply the same concealer to the areas around my nose and on any blemishes.
If the Tarte Shape Tape isn’t your jam, here are some other awesome sauce concealers:
–Urban Decay Naked Weightless Concealer
As you can read more about in this post, I always blend my concealer in with beauty sponge!
Powder
 I always take an extra step at this point to set my under-eye area with a different powder. The reason I do this is because my concealer creases very easily in my fine lines underneath my eyes (although the Tarte Shape Tape helps decrease this a lot!). Because of my oily skin, extra “powdering” never hurts.
I use the Anastasia Banana powder and the Morphe M438 (yes, it is supposed to be for bronzer…whatever…) brush to set my makeup underneath my eyes. This powder is extremely brightening and keeps my makeup in place! I also pat this all over my eyelids to prep them for eyeshadow later.
My two favorite powders to set the rest of my face are:
I use the Morphe R2 brush to set the powder all over my face.
Tip: When applying powder over foundation/concealer, always TAP your brush with the product all over your face, instead of RUBBING. If you rub your brush all over your face, there is a good chance you are going to swirl your foundation, concealer, and powder together, creating a muddy mess. Tapping your powder will help press it onto the skin, and actually set the makeup underneath in place so it doesn’t move!
Baking
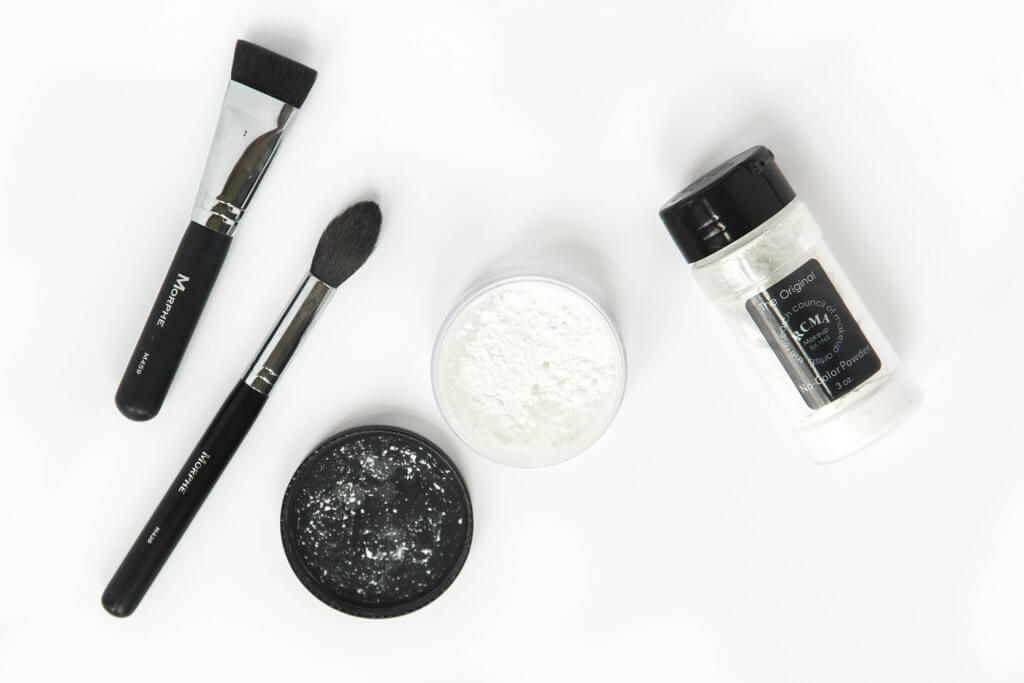 Now call me crazy, but I do one more step of setting powder with my favorite baking powder: the RCMA No Color Translucent Setting Powder. I use this powder to literally bake my entire face. I could say so much on baking, and why I do it every day, so I am just going to save it all for a separate blog post coming soon!
Setting
 After that is when I would move on to do the rest of my eye and face makeup! After I am finished with the whole shebang, I set my entire face with my NYX Matte Makeup Setting Spray that keeps my face MATTE and keeps my makeup in place all day! Read more about why I love it in this post!
Alright, pals. I know this may sound crazy, and maybe even overwhelming if you are a newbie to makeup. However, I promise once you get a handle on this whole thing, it will be easy and take you no time! This entire process takes me about 10 minutes! (Okay, maybe 15 if I’m watching Netflix while I do it.)
I would love to know your favorite face products! Especially for oily skin! Leave recommendations below!
Want to save this post for later? Save this pin below!