
 You’ve probably seen these puppies all over the place, and may be wondering: “How do I use that thing?”
I know I was very confused with how to use a beauty sponge (or commonly called a beauty “blender” – although that is actually a specific brand) before I got used to it! Now, my eyes have been opened, and my life has been changed, for the beauty blender truly is a one of a kind product.
Okay, maybe I am being a bit dramatic, but I do think it’s amazeballs.
It is very versatile, cheap, and can apply makeup flawlessly when used correctly! Let me convince you why you need one of these weird sponge thingies in your life.
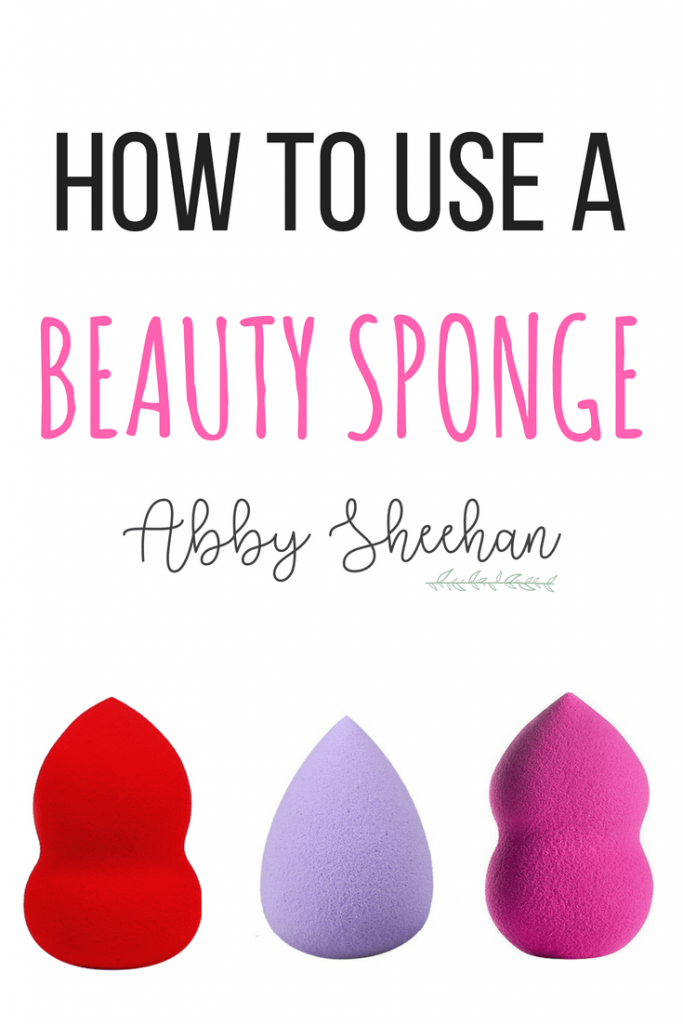
You can find them in many places – Walmart, Target, Sephora, Ulta, the list is endless! With so many brands out there promoting different sizes, shapes, and colors of beauty sponges, it can be a bit overwhelming.
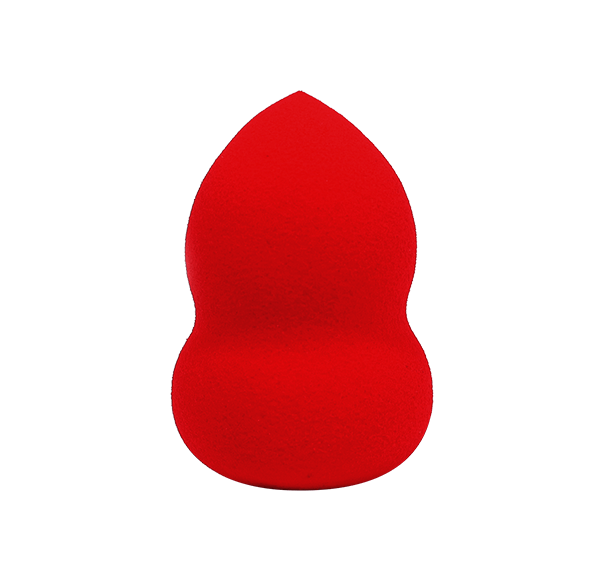
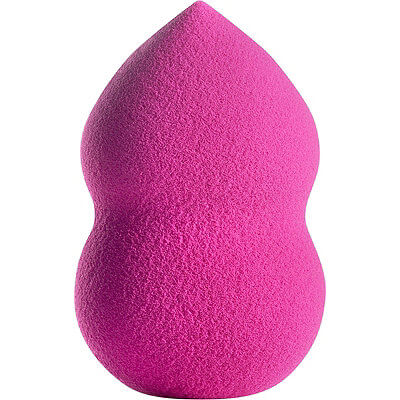
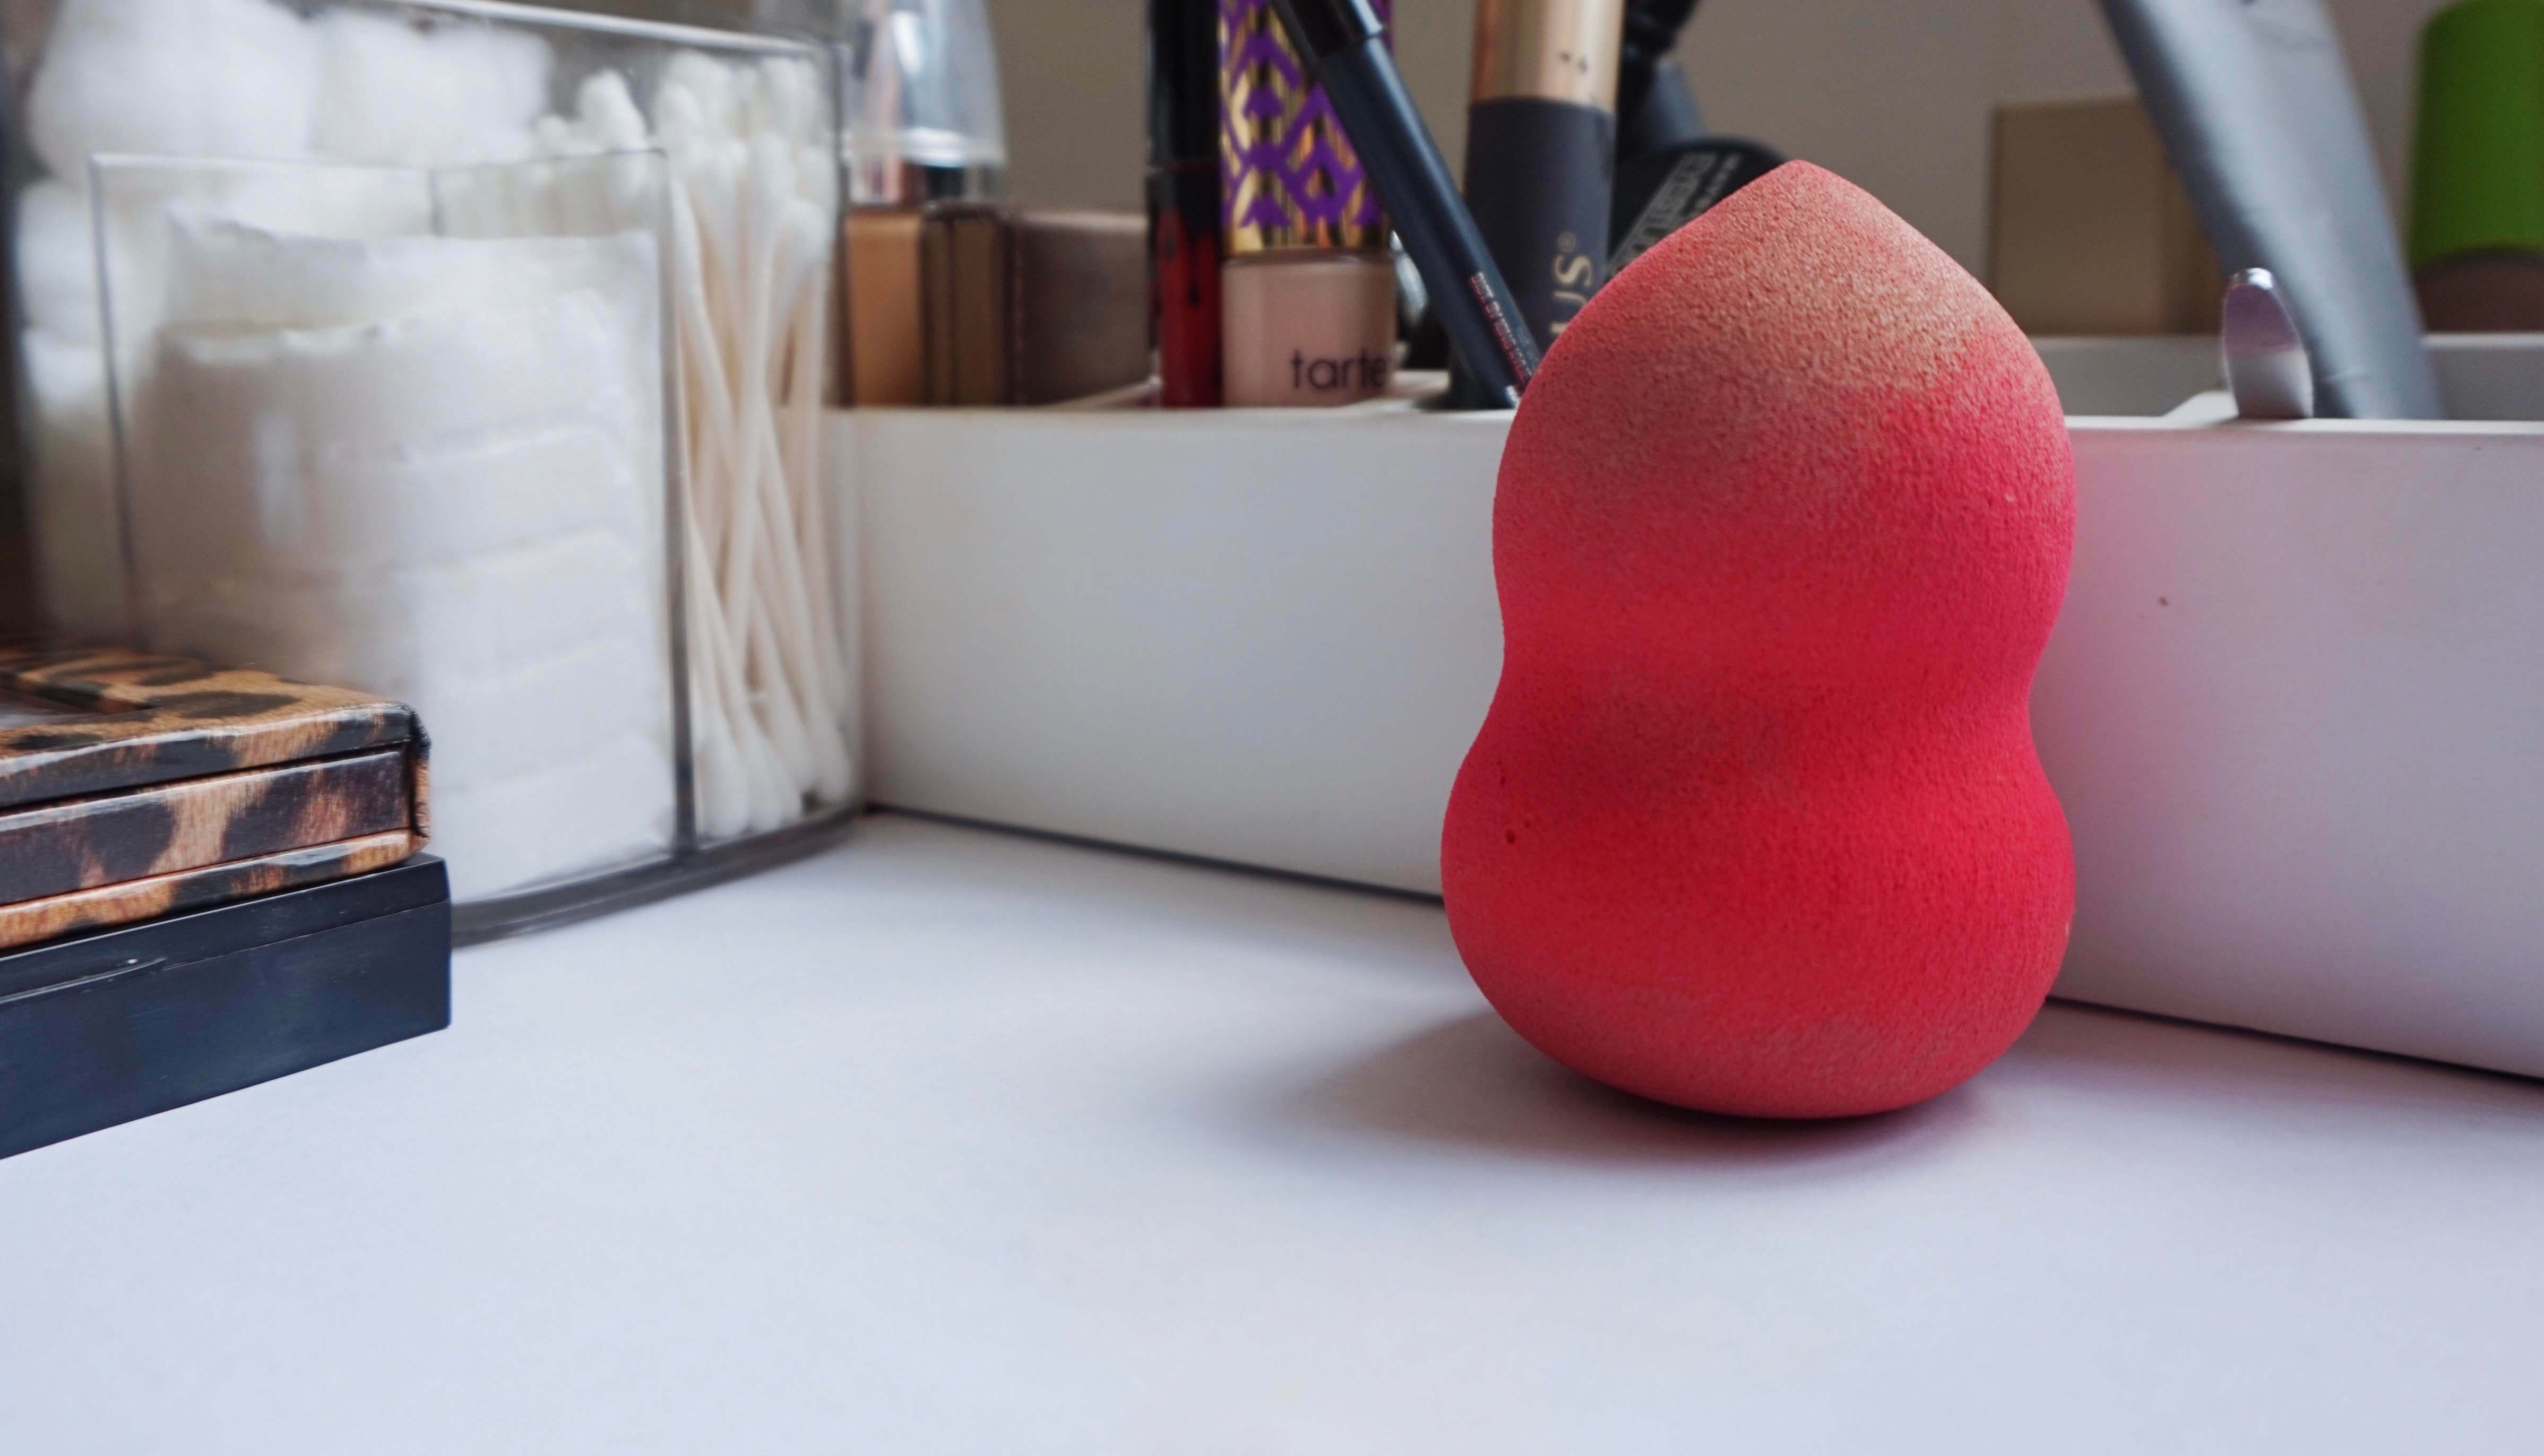
The one I am using in this post is from Morphe. I love the size, shape, and way it absorbs water. It works perfectly on my face shape and with blending in my makeup.
 However, I have also used sponges from L’oreal, and Real Techniques and these work great as well.
Beauty sponges tend to get grimy and gross quickly and harbor a lot of bacteria. Try to change yours out often – at least every three months. Since they are usually inexpensive, this isn’t much of a problem, and I like to try different brands each time to see what I like best!
Shape
When looking for that perfect beauty sponge, size does make a huge difference. A larger sponge, usually with one rounded end and one pointed end, is ideal for swiftly blending in foundation or larger amounts of concealer.
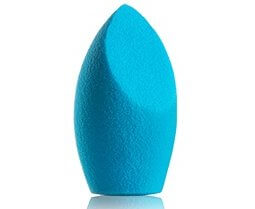
A smaller sponge, usually with a very pointy end, is great for more precise application of concealer, especially under the eyes or around the nose.
I love using the larger ones, because I can use them for my foundation and my concealer, and they get the job done faster. However, if you are looking more for something that can get up into the nitty gritty crevices (okay, weird word) of your face, a smaller, more precise option is your girl.
Let’s Get Going
Now, the key to using any beauty sponge is to get it wet! It is a sponge, and it is meant to soak up and absorb water.
Using a dry beauty sponge will get you nowhere, trust me.
Before I begin applying my makeup every day, I take a trip to my sink with my beauty sponge and run it under some warm water. Squeeze the sponge multiple times while under the stream of water, to let it soak up as much as possible. Then, turn off the water, and squeeze the sponge some more, until you feel like you have released almost all the water it just soaked up. At this point, your beauty sponge should be slightly damp (perfecto!) and should have nearly doubled in size. This is because it is still retaining water, and will blend your makeup perfectly!
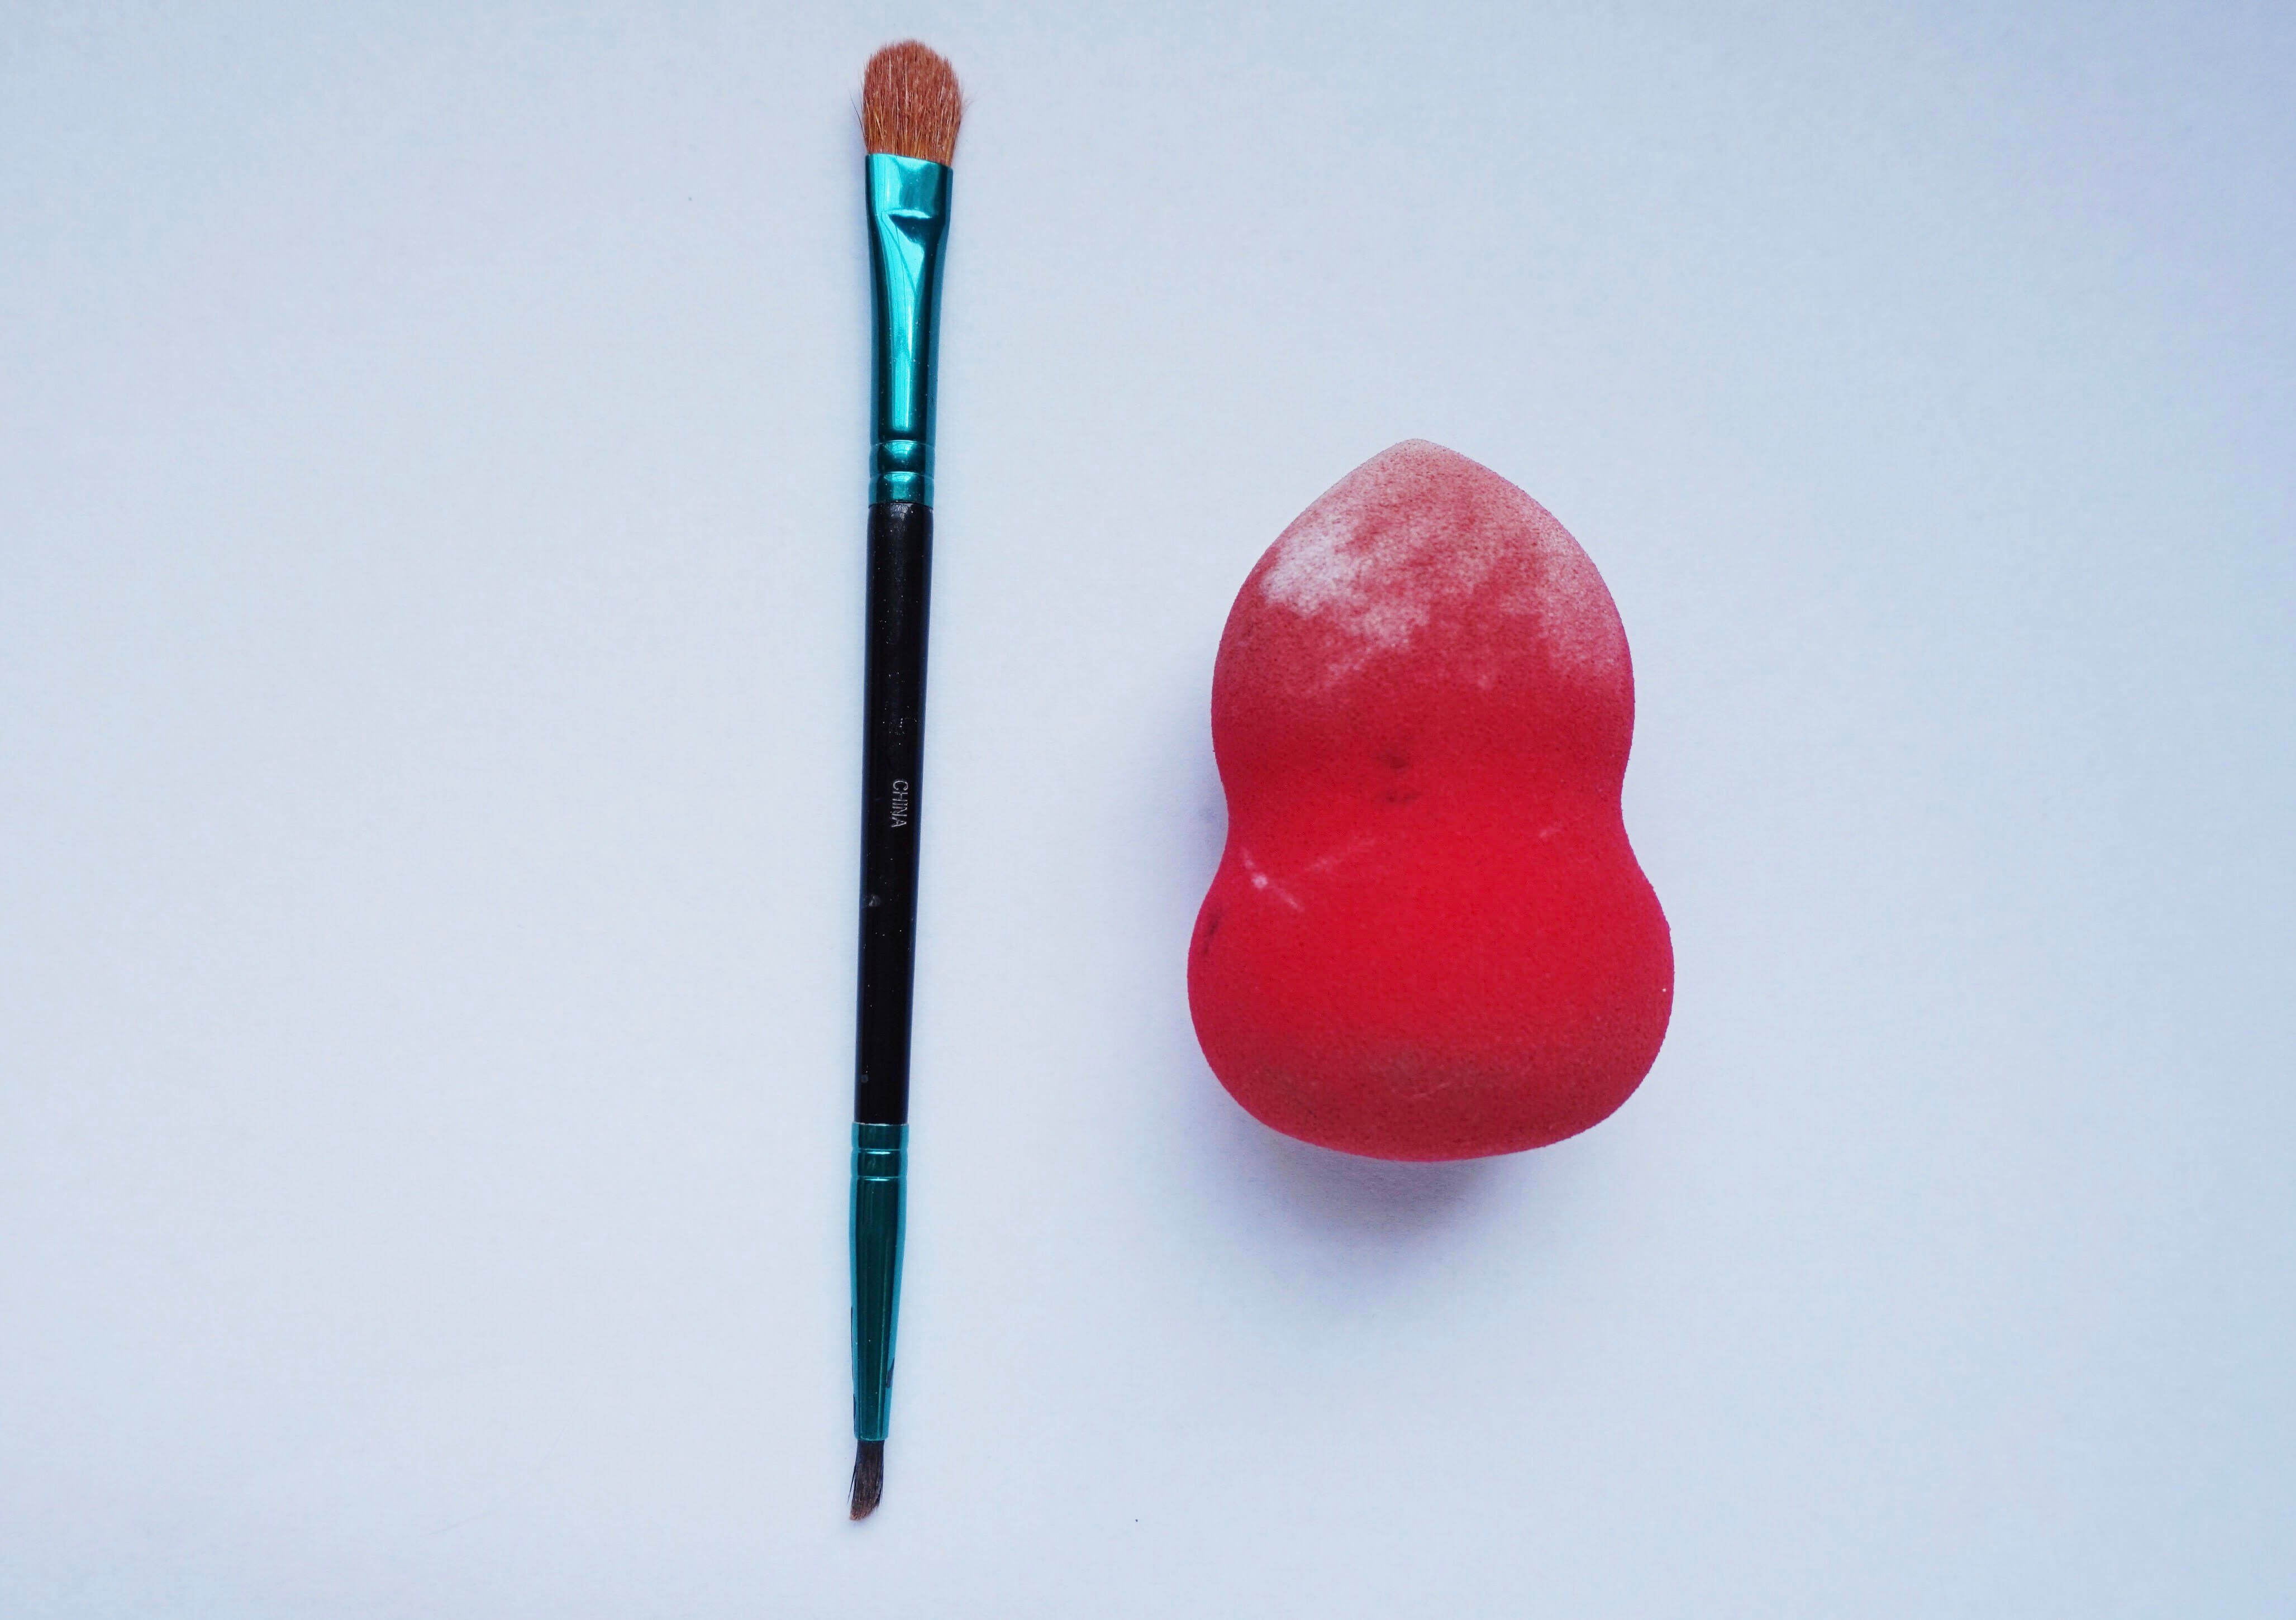
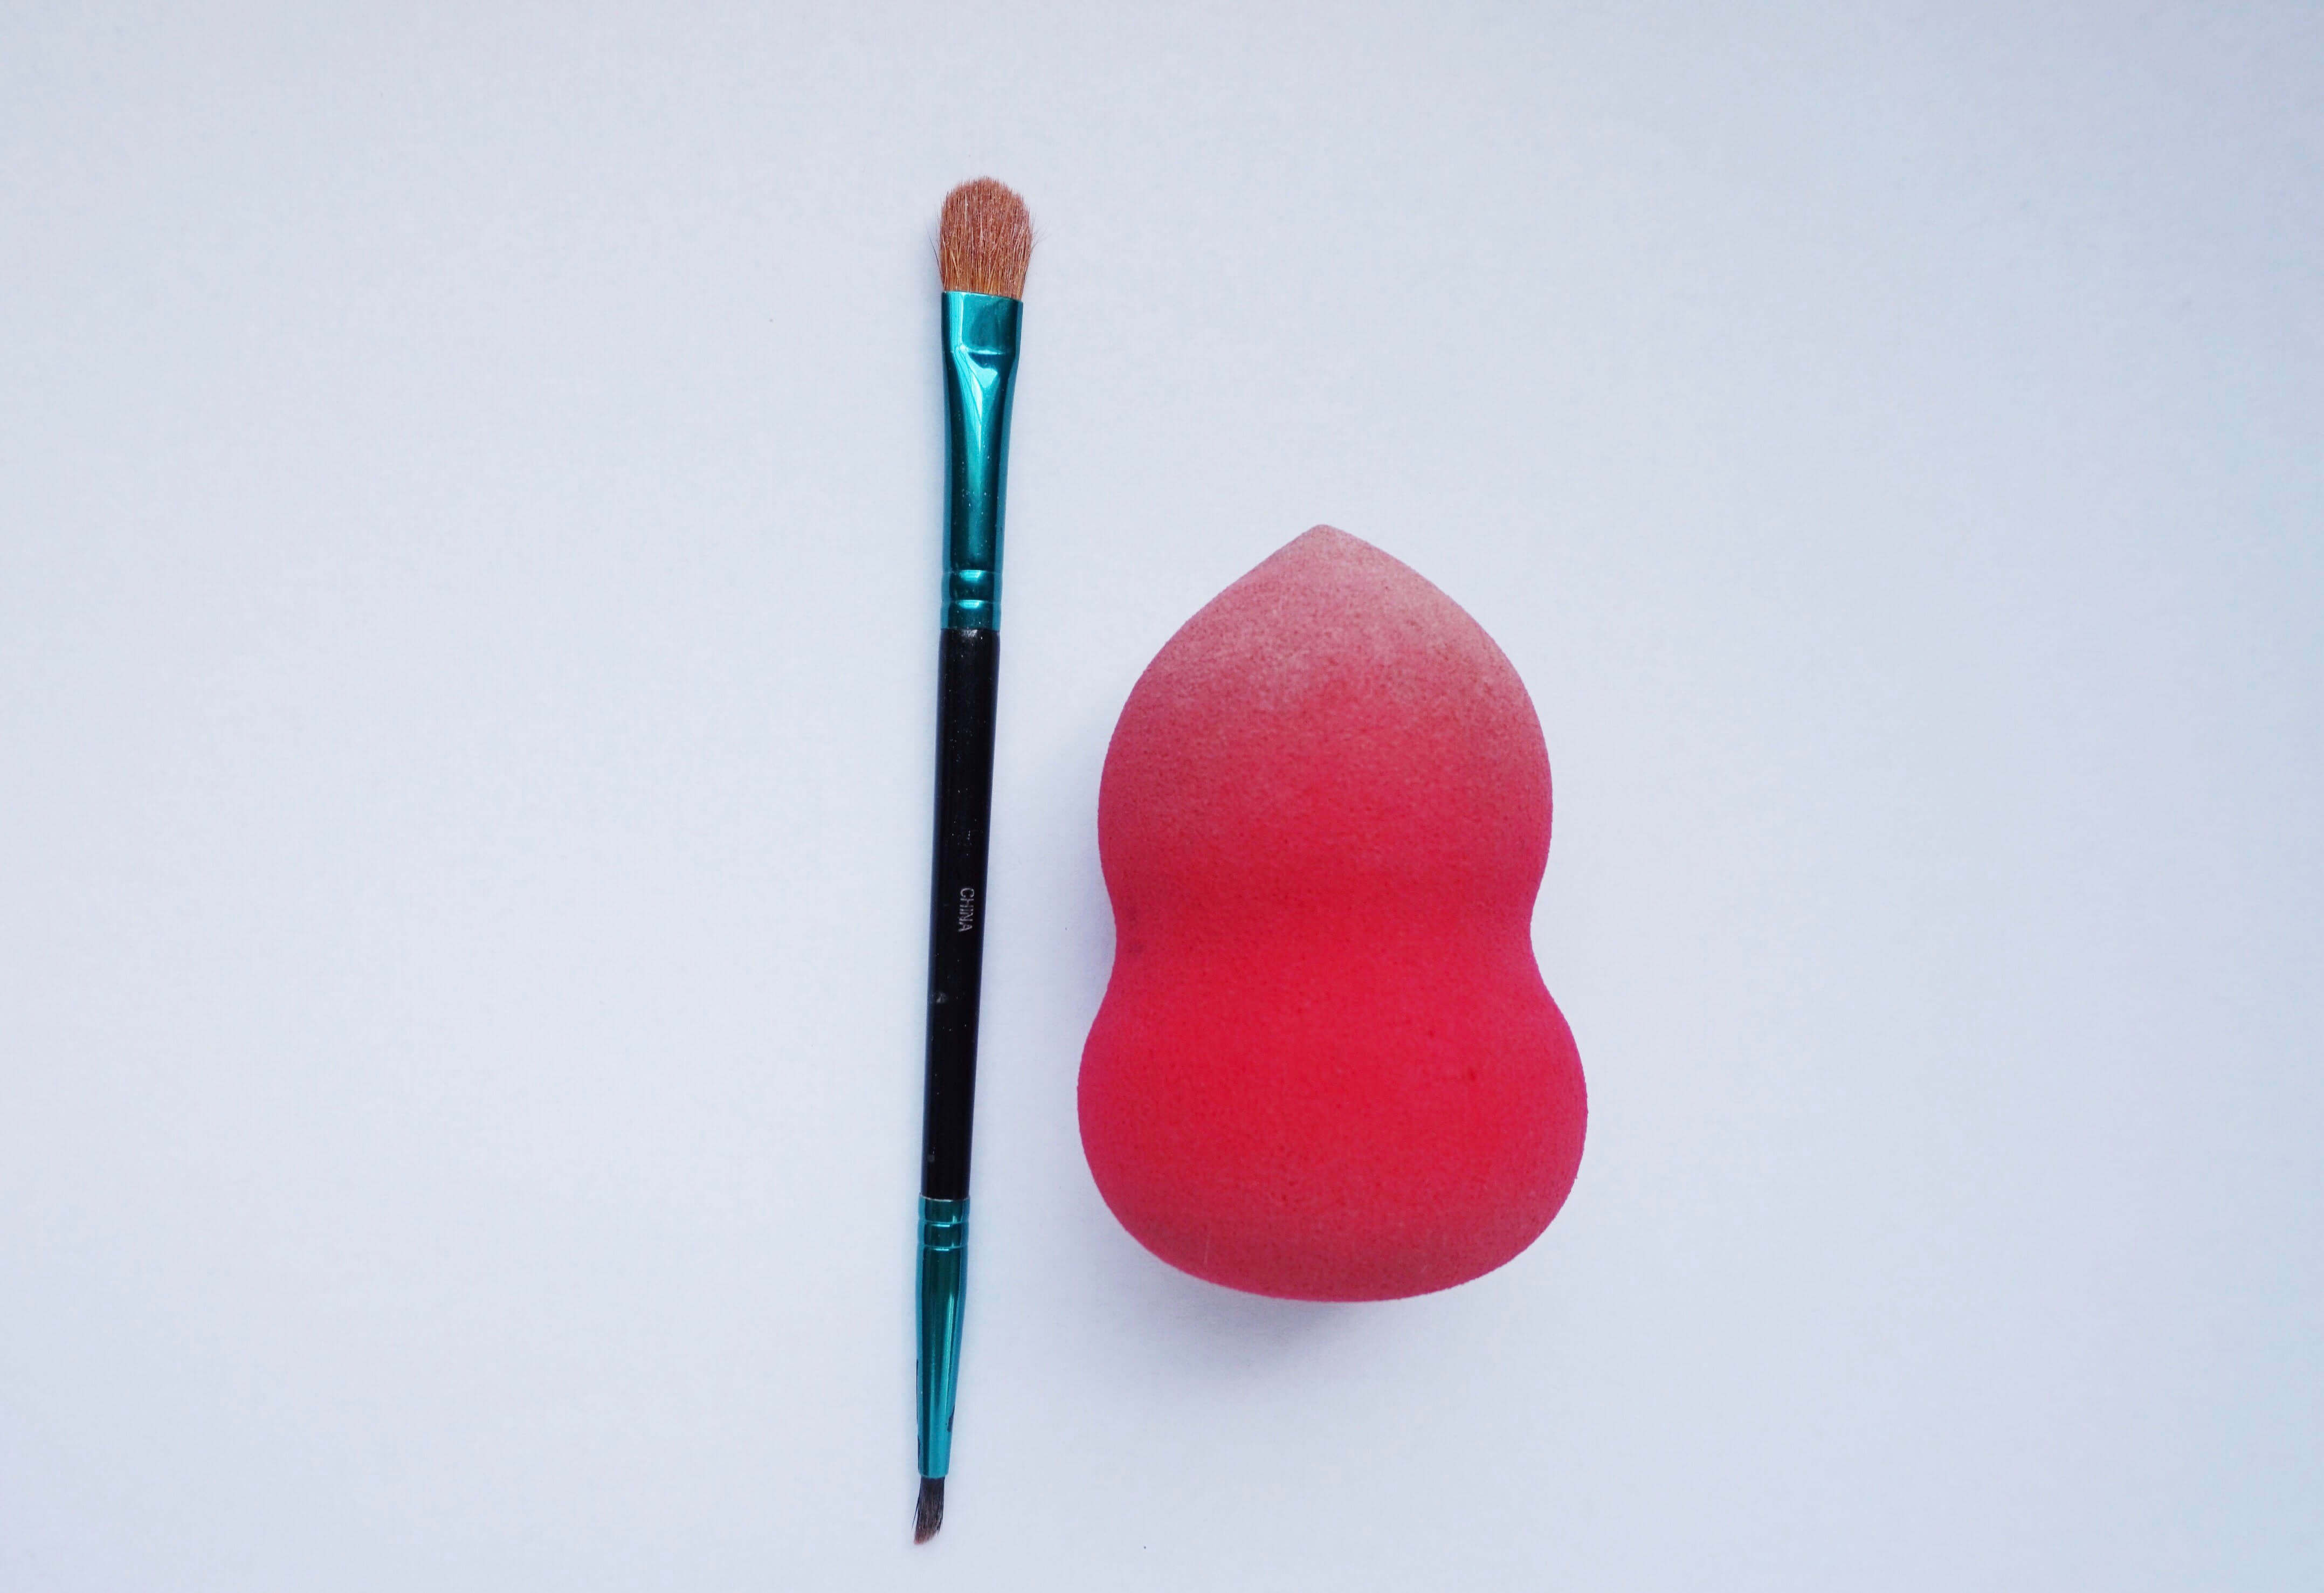
The image on the left is my sponge pre-soak, and the right is post- soak. I put it next to a brush to show size comparison. It gets much larger after soaking up water! Also, don’t mind the fact that my sponge is pretty nasty and dirty. I promise it’s just stained – I do clean it often!
This is just real life, people.
You can tell I love it.
Foundation
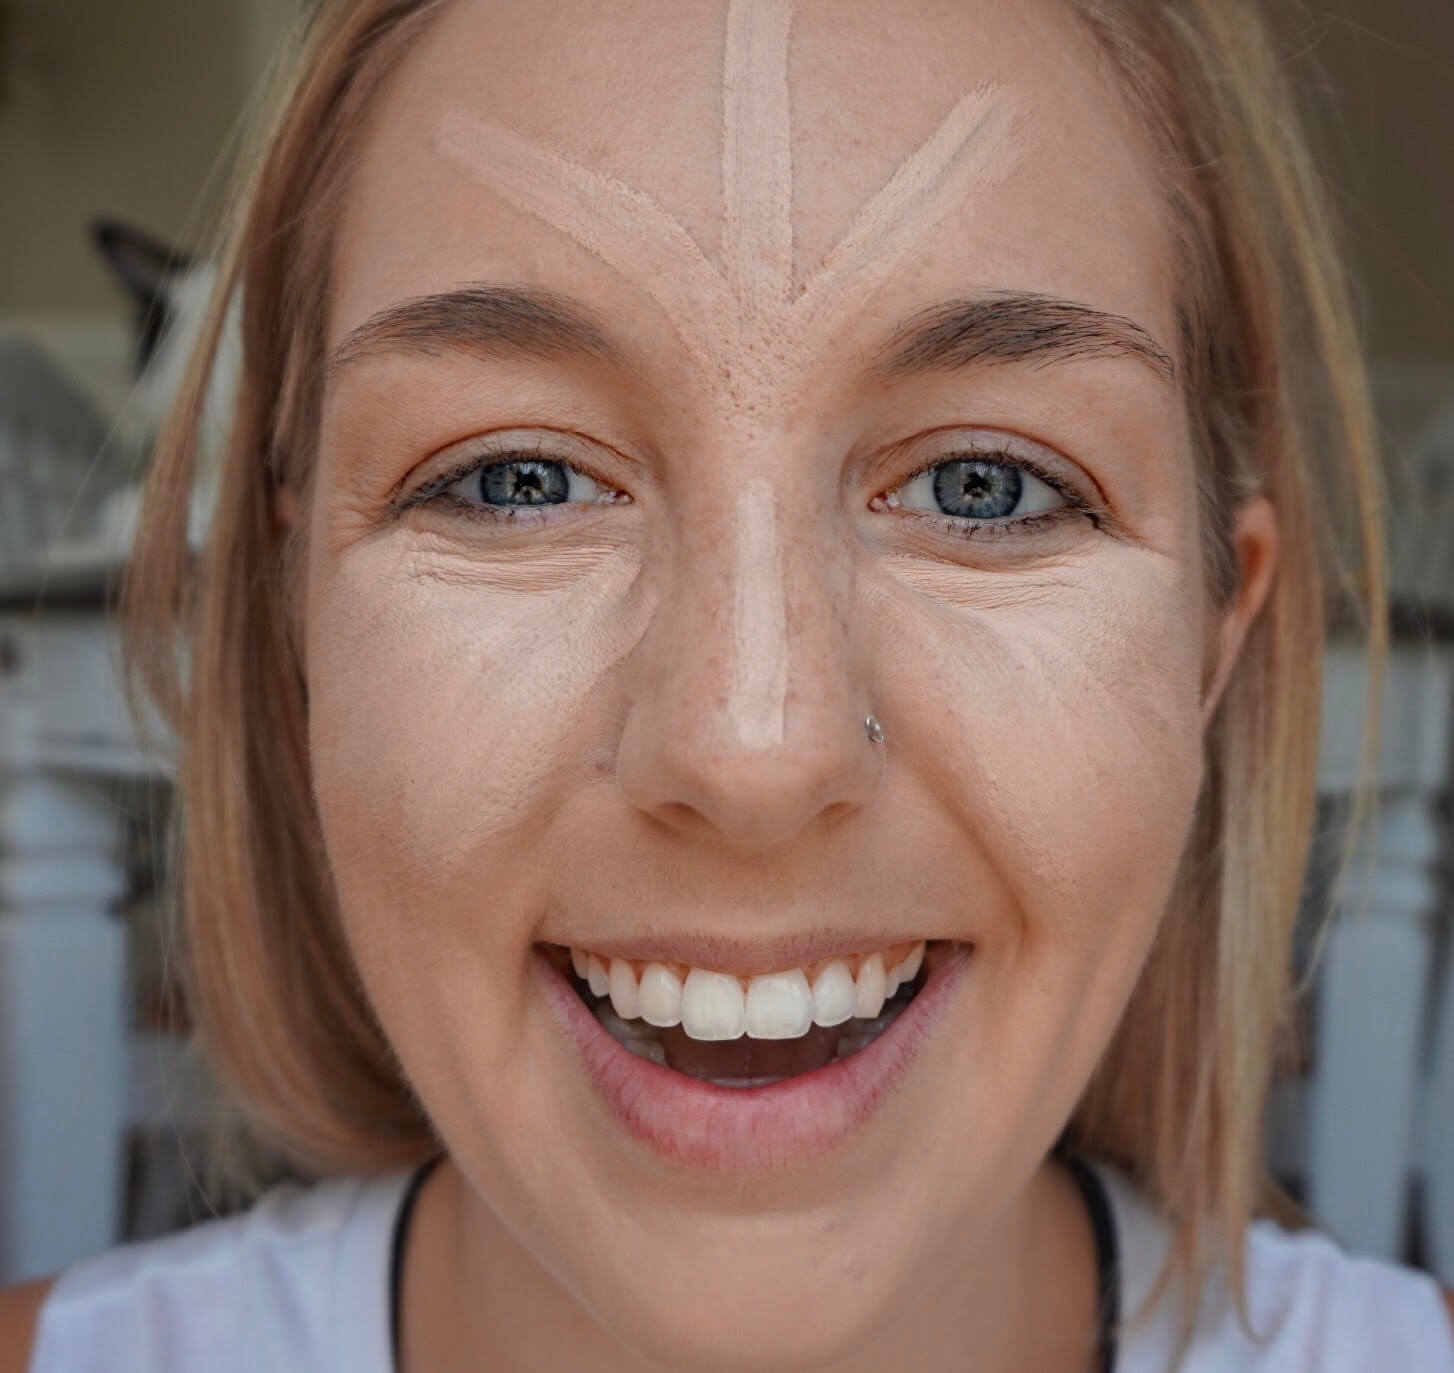
When I apply my foundation, I have my ride or die Morphe M439 foundation brush that I absolutely love. However, if I am feeling rebellious, or just want to switch it up, I will use the large rounded end of my beauty sponge to apply my foundation. I don’t do this normally because I am just so madly in love with my Morphe foundation brush.
However, if I am using this method, I start by dabbing the foundation around my face, and then use the flat, rounded end to blend away!
At first, it will feel weird using a wet/damp tool to blend in your makeup, but I promise the after-effects are incredible. Focus on dabbing the sponge up and down, really trying to press the foundation into your skin, rather than smear. Dabbing your sponge will help the foundation sink into your skin, and create a flawless finish.
 Concealer
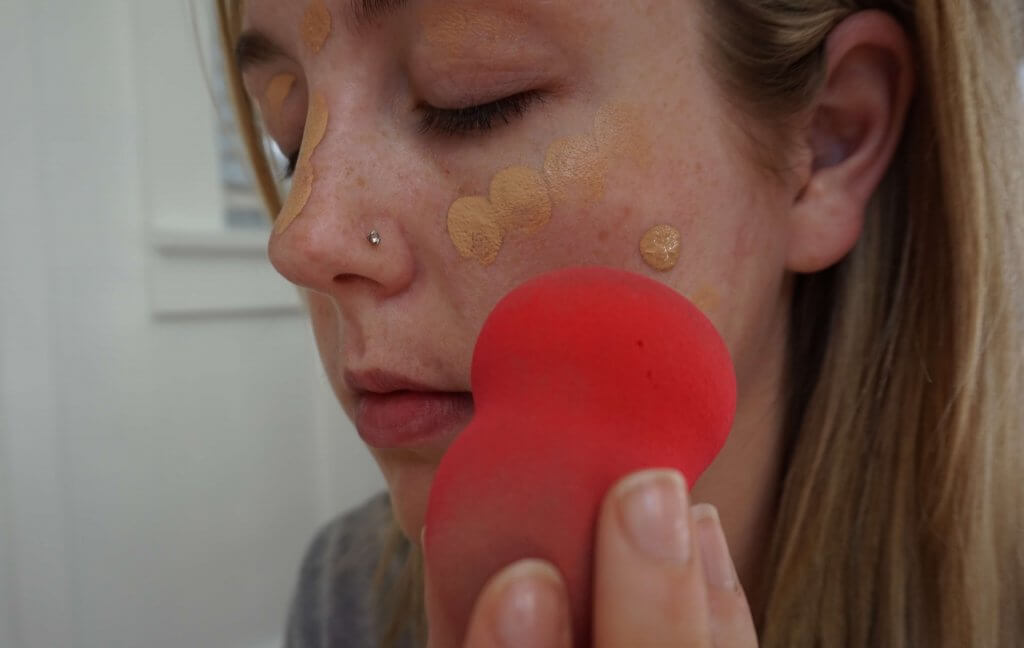
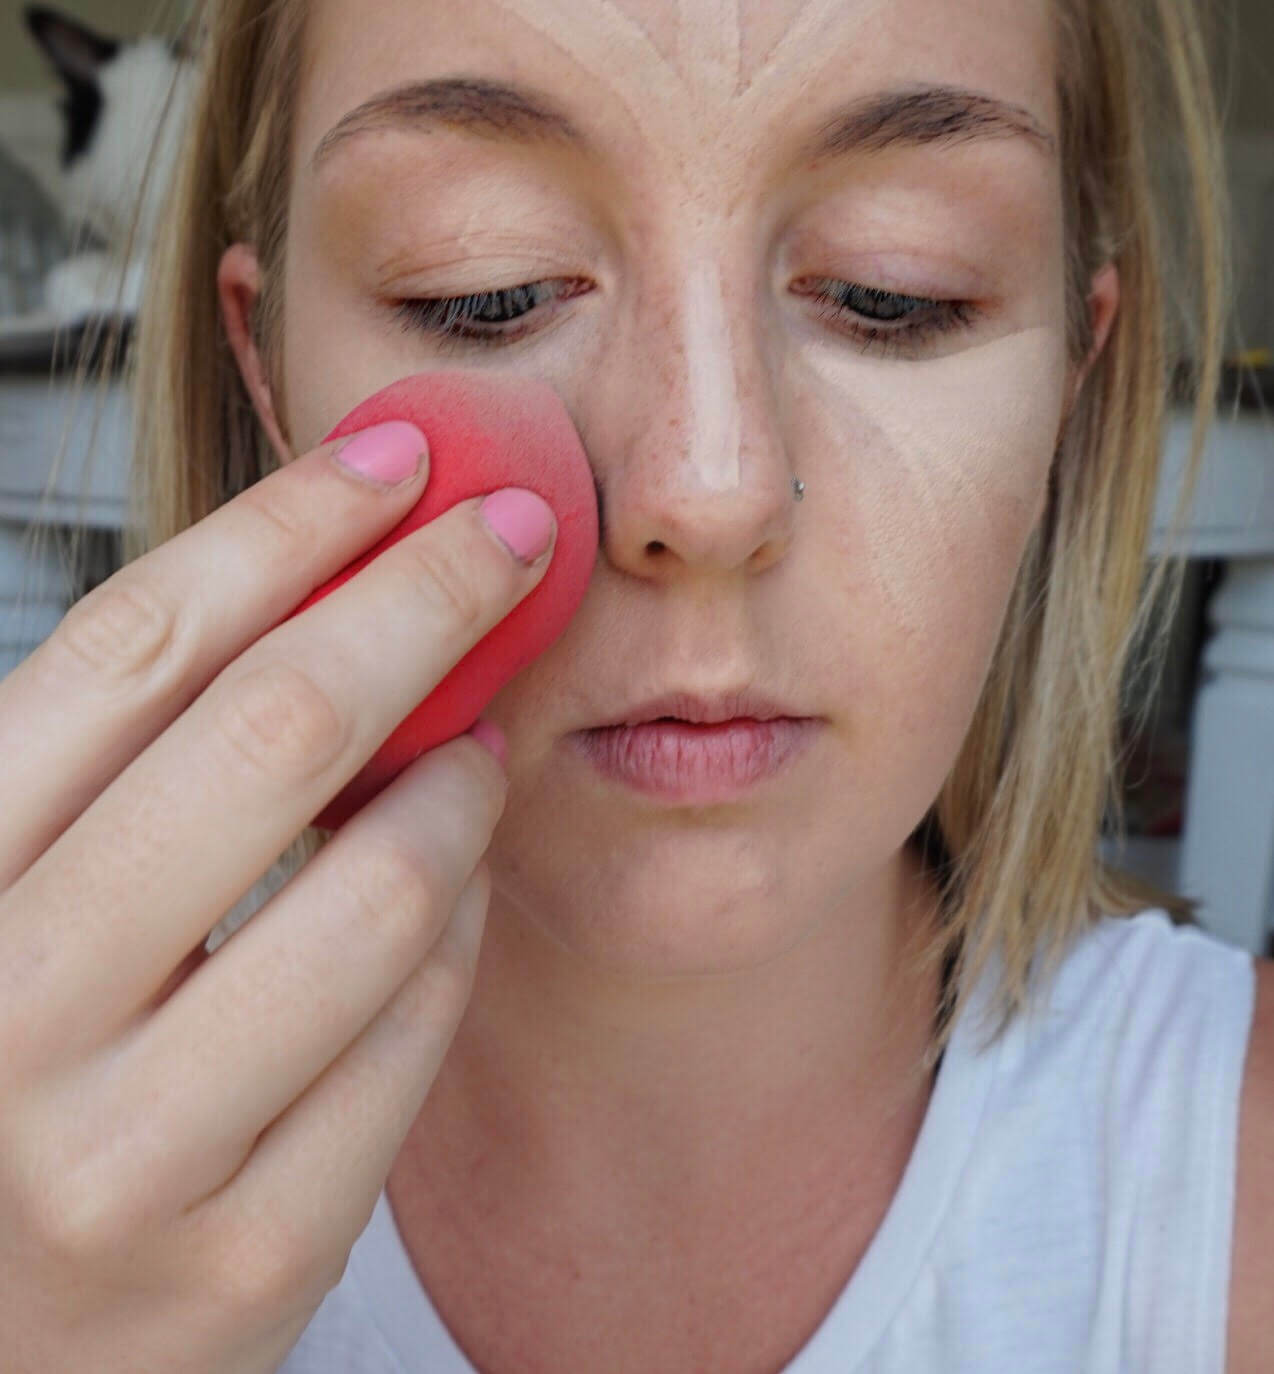
When I apply my concealer every single day, I use my beauty sponge. Nothing can beat the way this blends my concealer, especially under my eyes!
Again, it should still be damp, even if you just used it to apply some foundation. Start by applying your concealer wherever you normally would on your face. I know I put a lot under my eyes, but that is another reason the beauty sponge is amazing. It will absorb any excess product and only leave behind enough to look flawless.
Just like with your foundation, you should dab or tap the sponge up and down to press the concealer into your skin. Rubbing or smearing will make your concealer glide around your face and mess up your beautiful foundation underneath.
You will see, I am now using the opposite side (the more pointed side) of the sponge. This end allows me to be a bit more accurate under my eyes and around my nose and mouth. I can also use the pointed end to get right up into the corners of my eyes and make sure everything is smooth.
Keep tapping away until everything is blended seamlessly!
Have I scared you guys away yet?
And there you go! Finish up the rest of your makeup look however you would.
I do use my beauty sponge for one more purpose, which is to apply powder to “bake” my face. Click here to read all about how to “bake” your makeup!
Anyway, when you are finished with your makeup, leave your sponge somewhere out in the open so that it can dry correctly. I have an open, airy space on my counter where I always know it goes.
Hopefully this post was helpful to those unfamiliar with a beauty sponge, and will help you learn the basics of how it can change your makeup game!

Very interesting. Thank you for the helpful tips. Keep up this great work. Can’t wait to read more posts.