
 If the whole “DIY” thing in this title scared you a little…don’t let it! Trust me, I am not a crafty or super creative person, whatsoever. However, even I can handle this super easy DIY project! So, creatives and non-creatives alike, let’s dive in!
I’m sure we’ve all seen some of the cutest makeup brush holders out there. They really can jazz up your bathroom counter or vanity! But trust me, you can make equally-adorable makeup brush holders from supplies you probably already have at home!
Not only am I going to show you how to hold your brushes in style, I will also show you how to transform smaller holders into the perfect container for liners!
Let’s roll up our sleeves and get to craftin’, yo.
Supplies
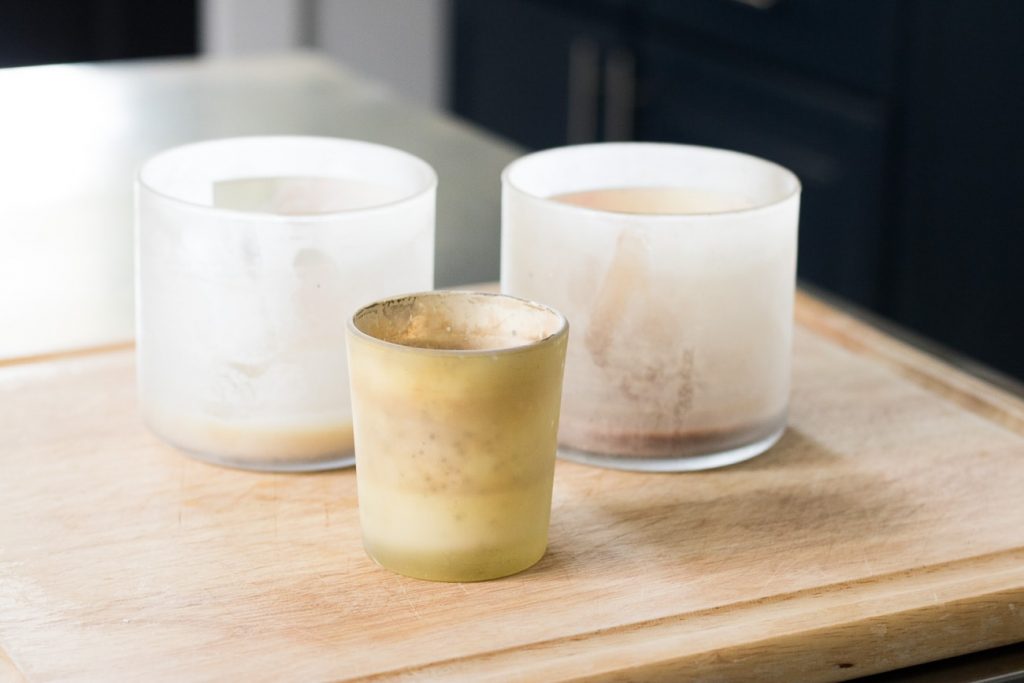
- Old candle jars
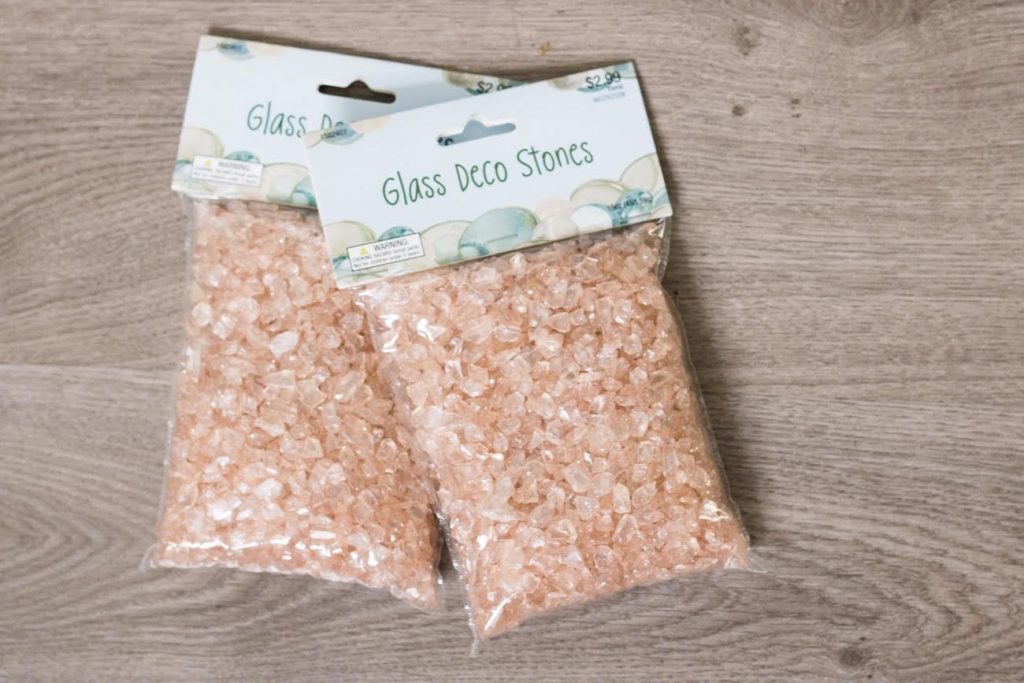
- Vase Filler
- Spray paint
- Painters tape
- Any other cute decor you may want to add or glue on!
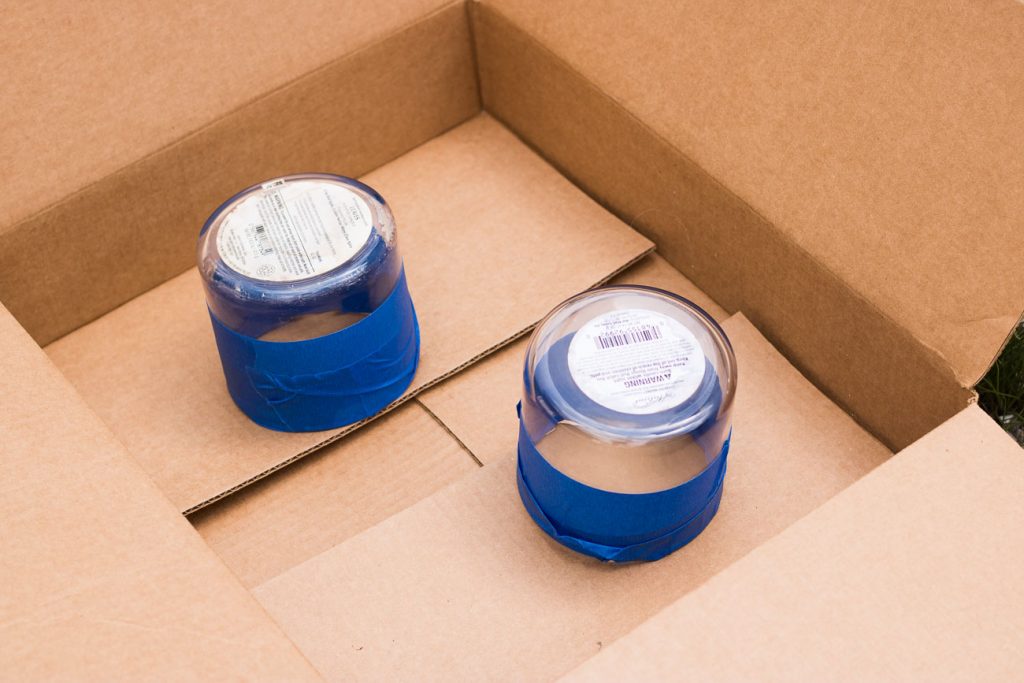
Step One: Prepare your jars
Freeze your candle jars in the freezer overnight. This will allow for the wax to harden and be super easy to chip out after freezing. I just stack mine in my freezer before bed, and they were ready to go in the morning!
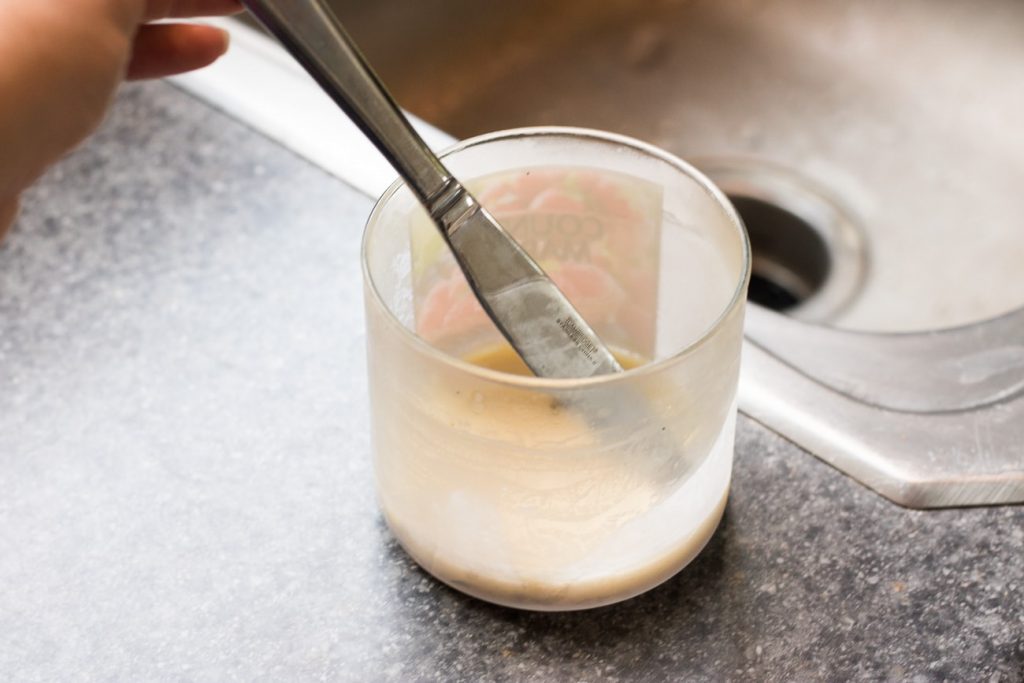
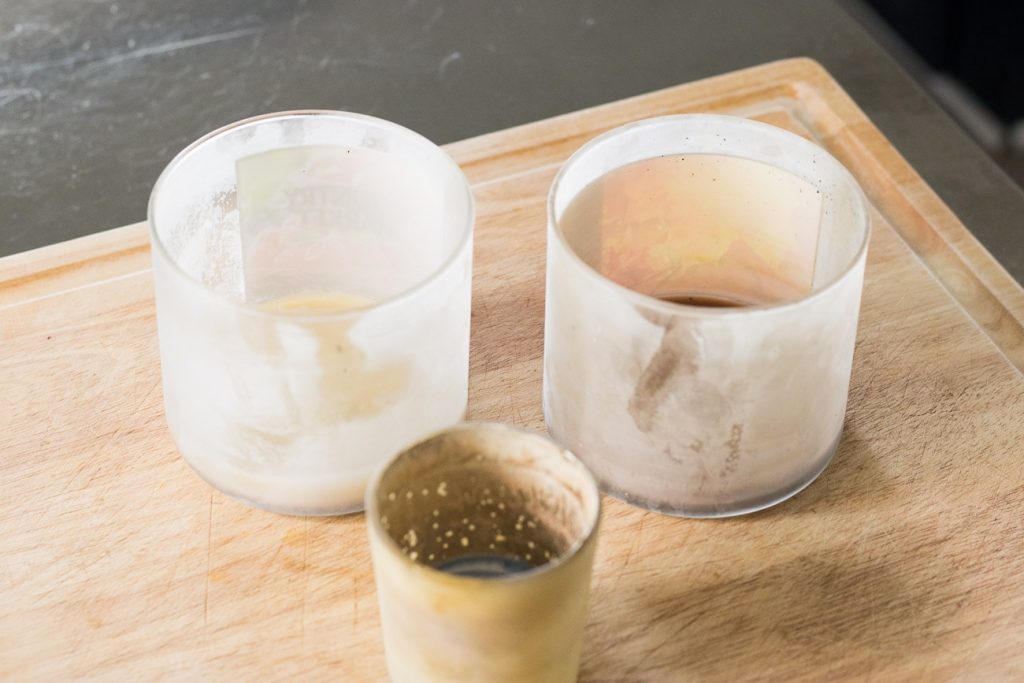 In the morning, use a butter knife to gently chip away at the wax at the bottom of your candle. Some of mine came out in one easy chunk and some I had to work at a little bit more. Either way, it shouldn’t take much effort to get the excess wax out.
 After the jar is empty, clean it out with some soap and warm water to get out any extra residue and get the jar sparkling clean!
Step Two: Decorate your jars
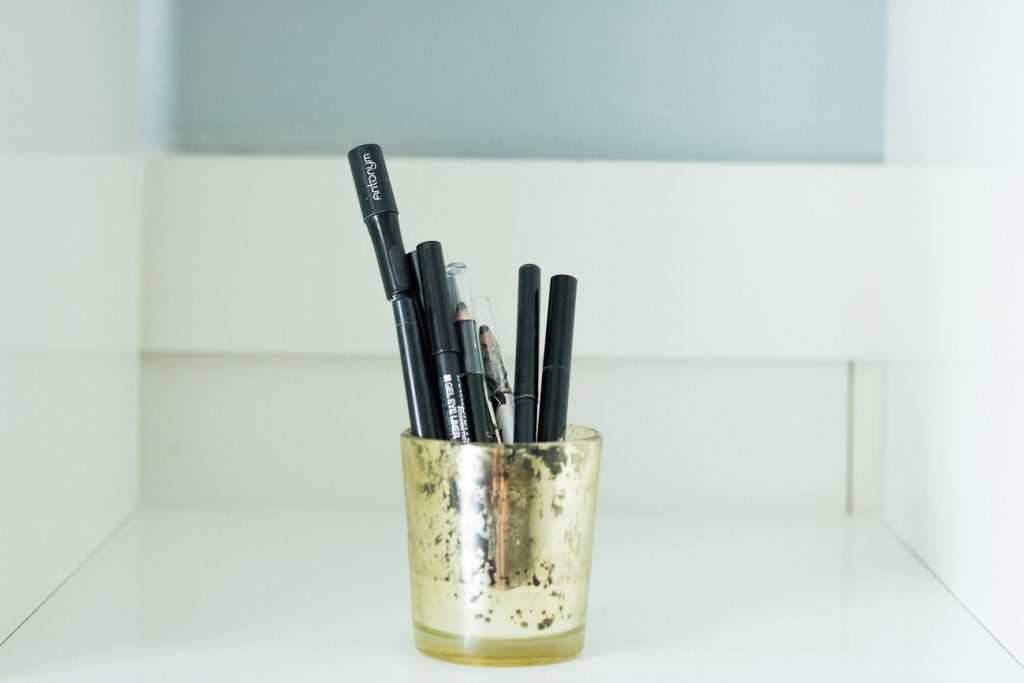
This next step can sort of be taken in different directions based on your ideas and creativity! As you can see, one of my smaller jars already had a cool gold-speckled design on it when I bought it, so I left it as is.
 I also have another example of a cute candle that I bought that I didn’t add any paint or decor to, because I already loved the design on it!
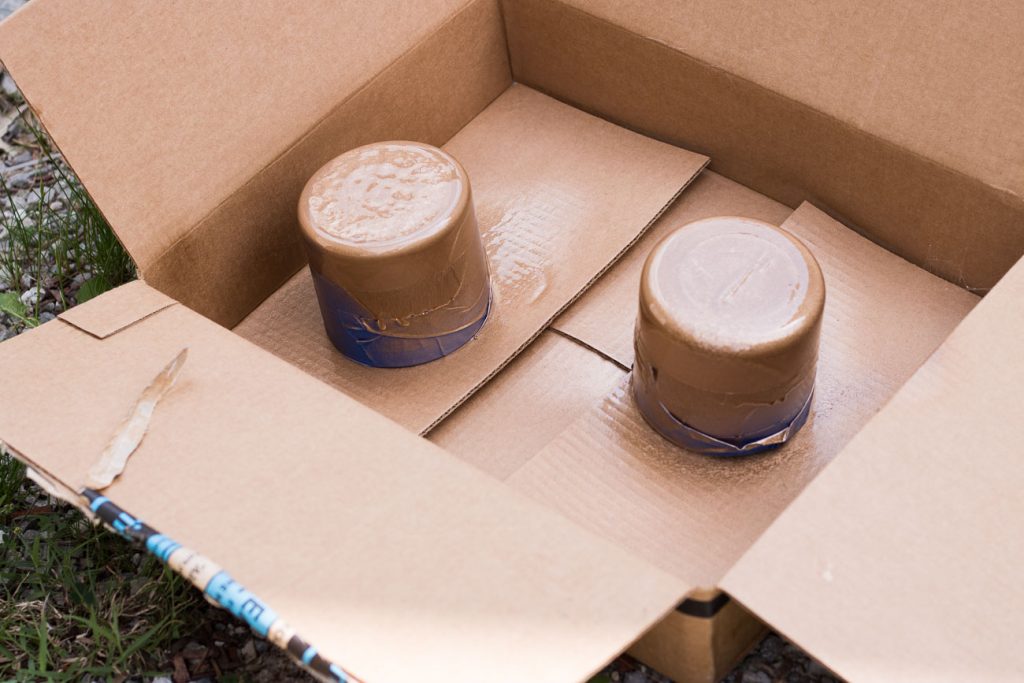
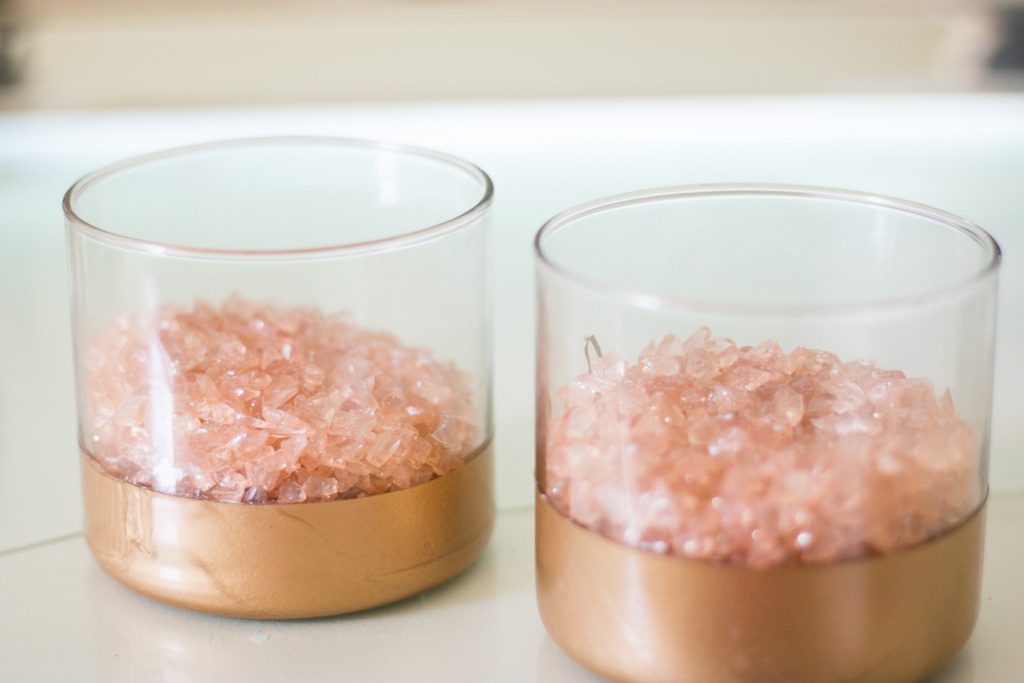
 For my plain jars, I decided to give them the “dipped” effect by taping the top ⅔ of the jar with painters tape to block any spray paint. Then, I spray painted the bottom ⅓ of the jar with gold spray paint. I waited a couple hours for the paint to dry, with the jar setting upside down, then took the painters tape off.
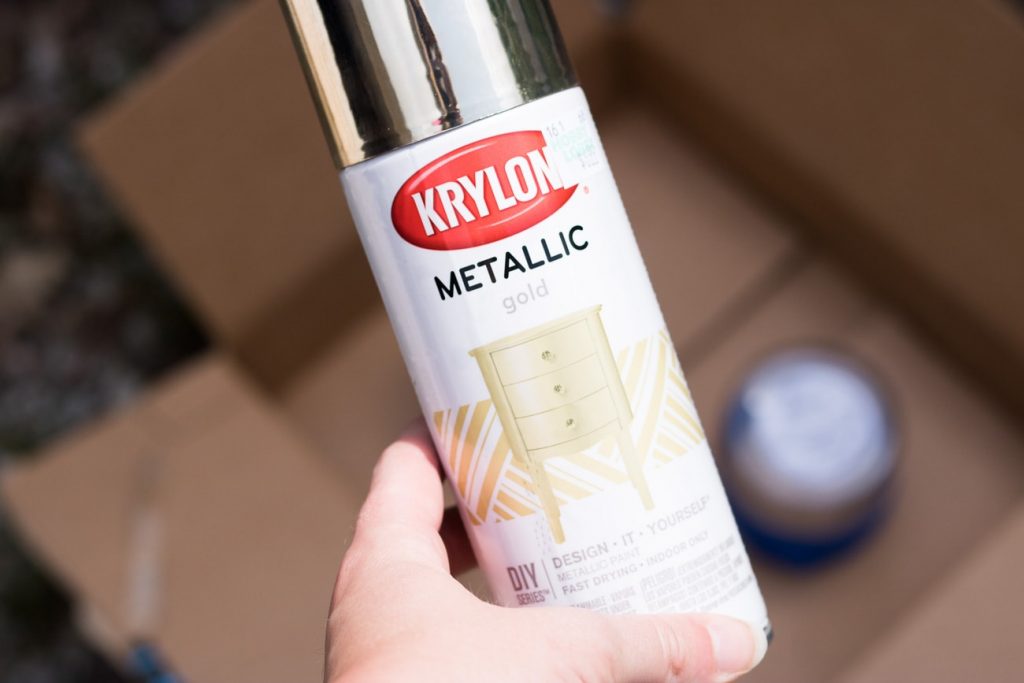
I got my spray paint at Hobby Lobby, but you can also snag it on Amazon!
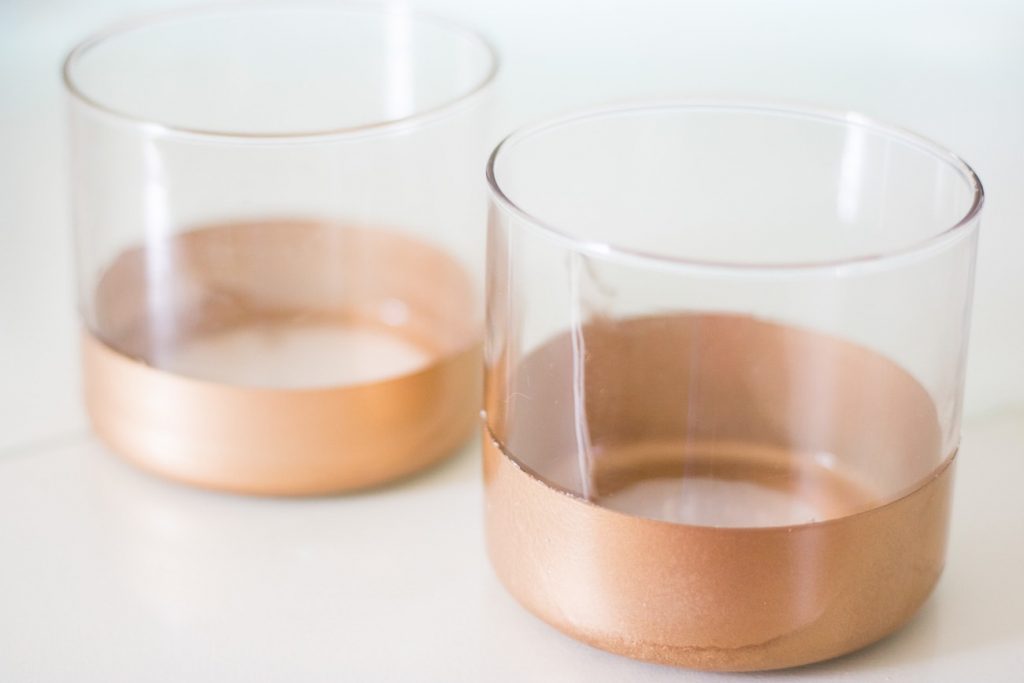
 Voila! Super cute effect.
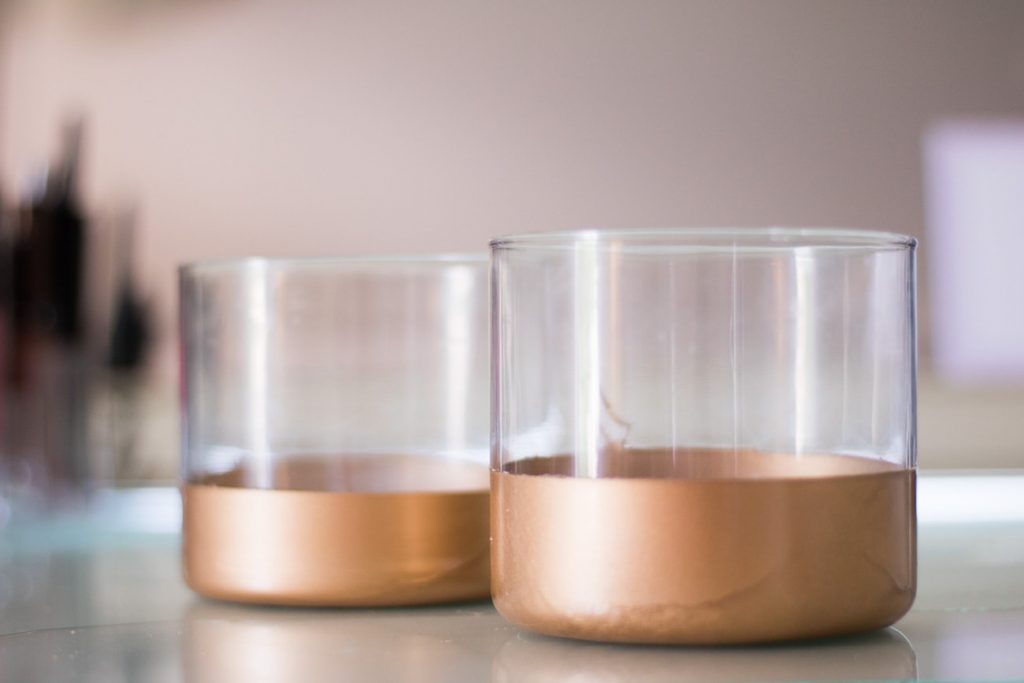
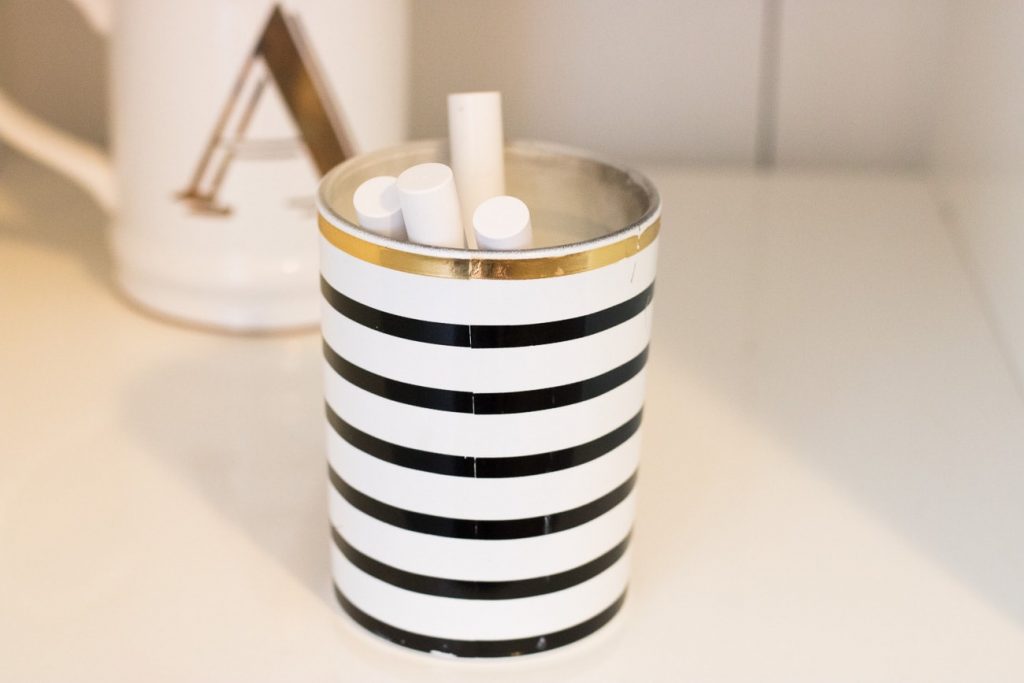
 You could also experiment with stripes, polka dots, spray painting the entire jar, or any other fun designs you can think of!
Step Three: Fill your jars
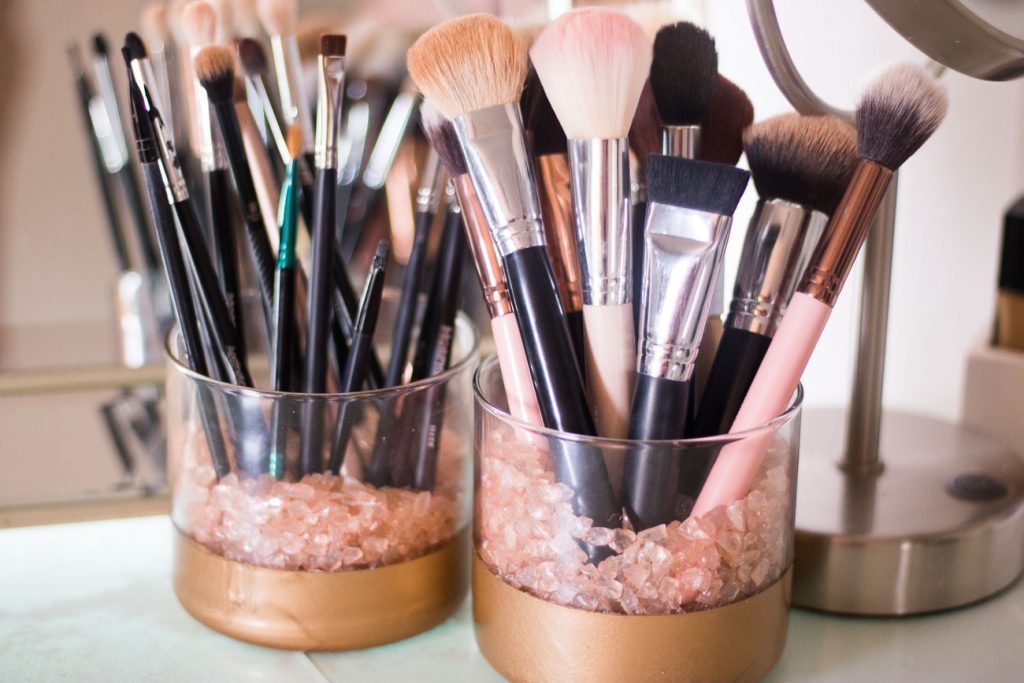
You could probably use some of your jars without any fillers. In the photo below, you can see how I used one of my smaller ones for liners, without any filler needed!
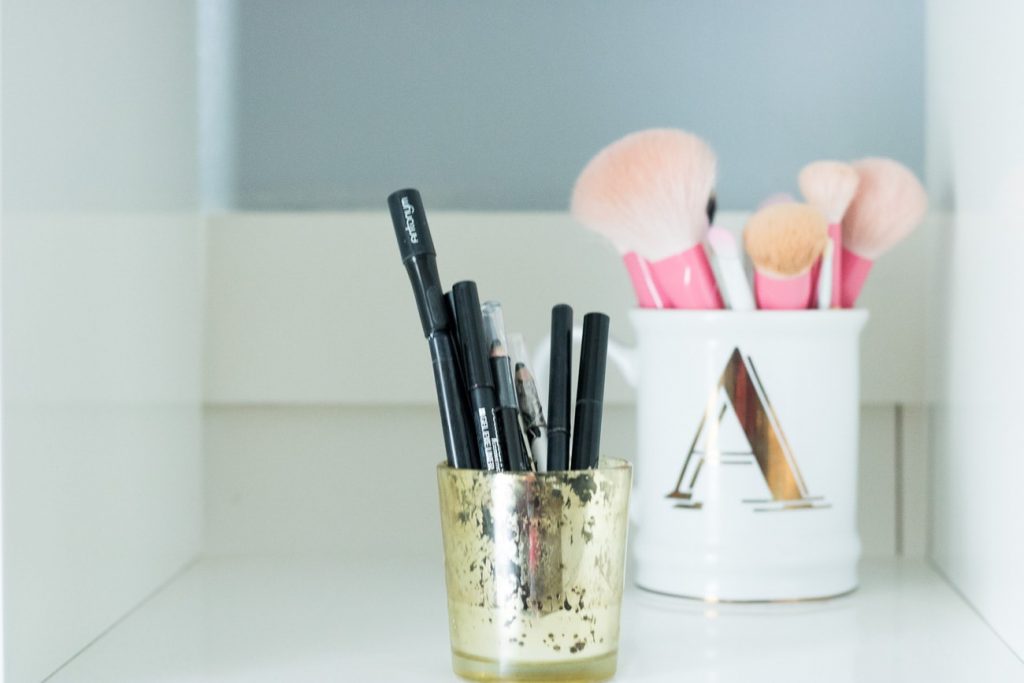 However, for some of your larger jars, you may want to add a little filler to help your brushes stand up and not fall over. For this, I used some vase filler from Hobby Lobby, or you could pick similar ones up from Amazon!
 And there ya have it! Super easy, cute brush holders to spice up your vanity. I don’t know about you, but after I added these to my makeup counter, I felt like I had given my vanity a little makeover! Such a fun way to spice up your bathroom.
 Want to see what sort of makeup brushes I fill these bad boys with? Click here to read all about my all-time FAVORITE makeup brushes that won’t break the bank!
Post pictures of your DIY brush holders if you do this method! I would love to see your creations!
And don’t forget to snag your FREE “Ultimate Makeup Must-Have Guide” that you NEED in your life to spice up your makeup routine! Simply click the button below!
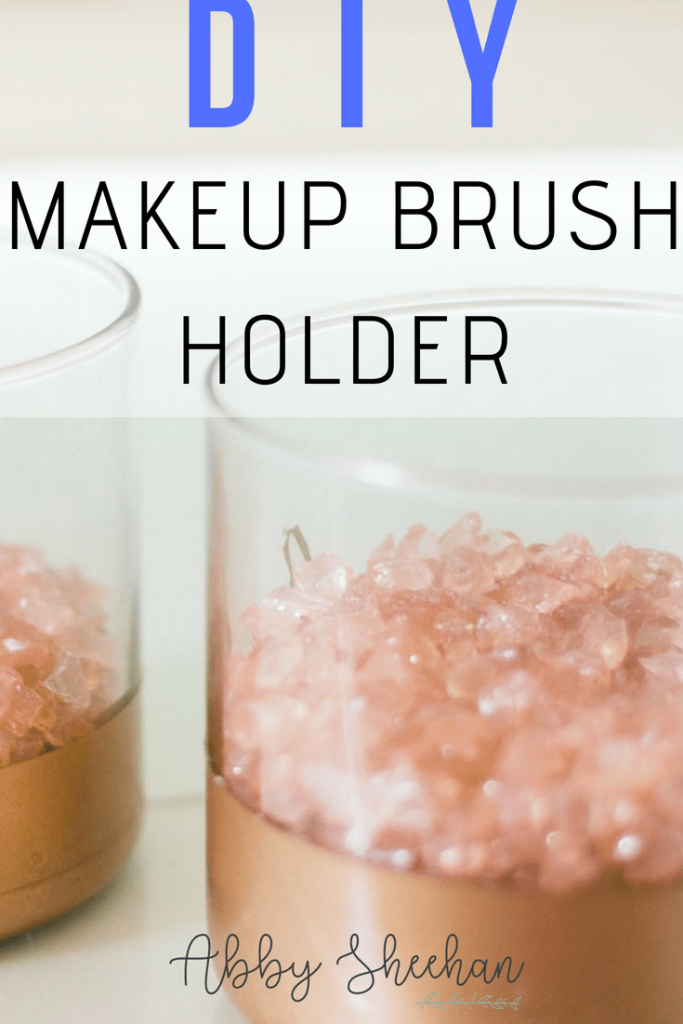
Liked this post? Pin it for later!


Such a cute brush holder DIY tutorial. So awesome. Gonna try this out.
Glad you liked it…thanks so much! 🙂